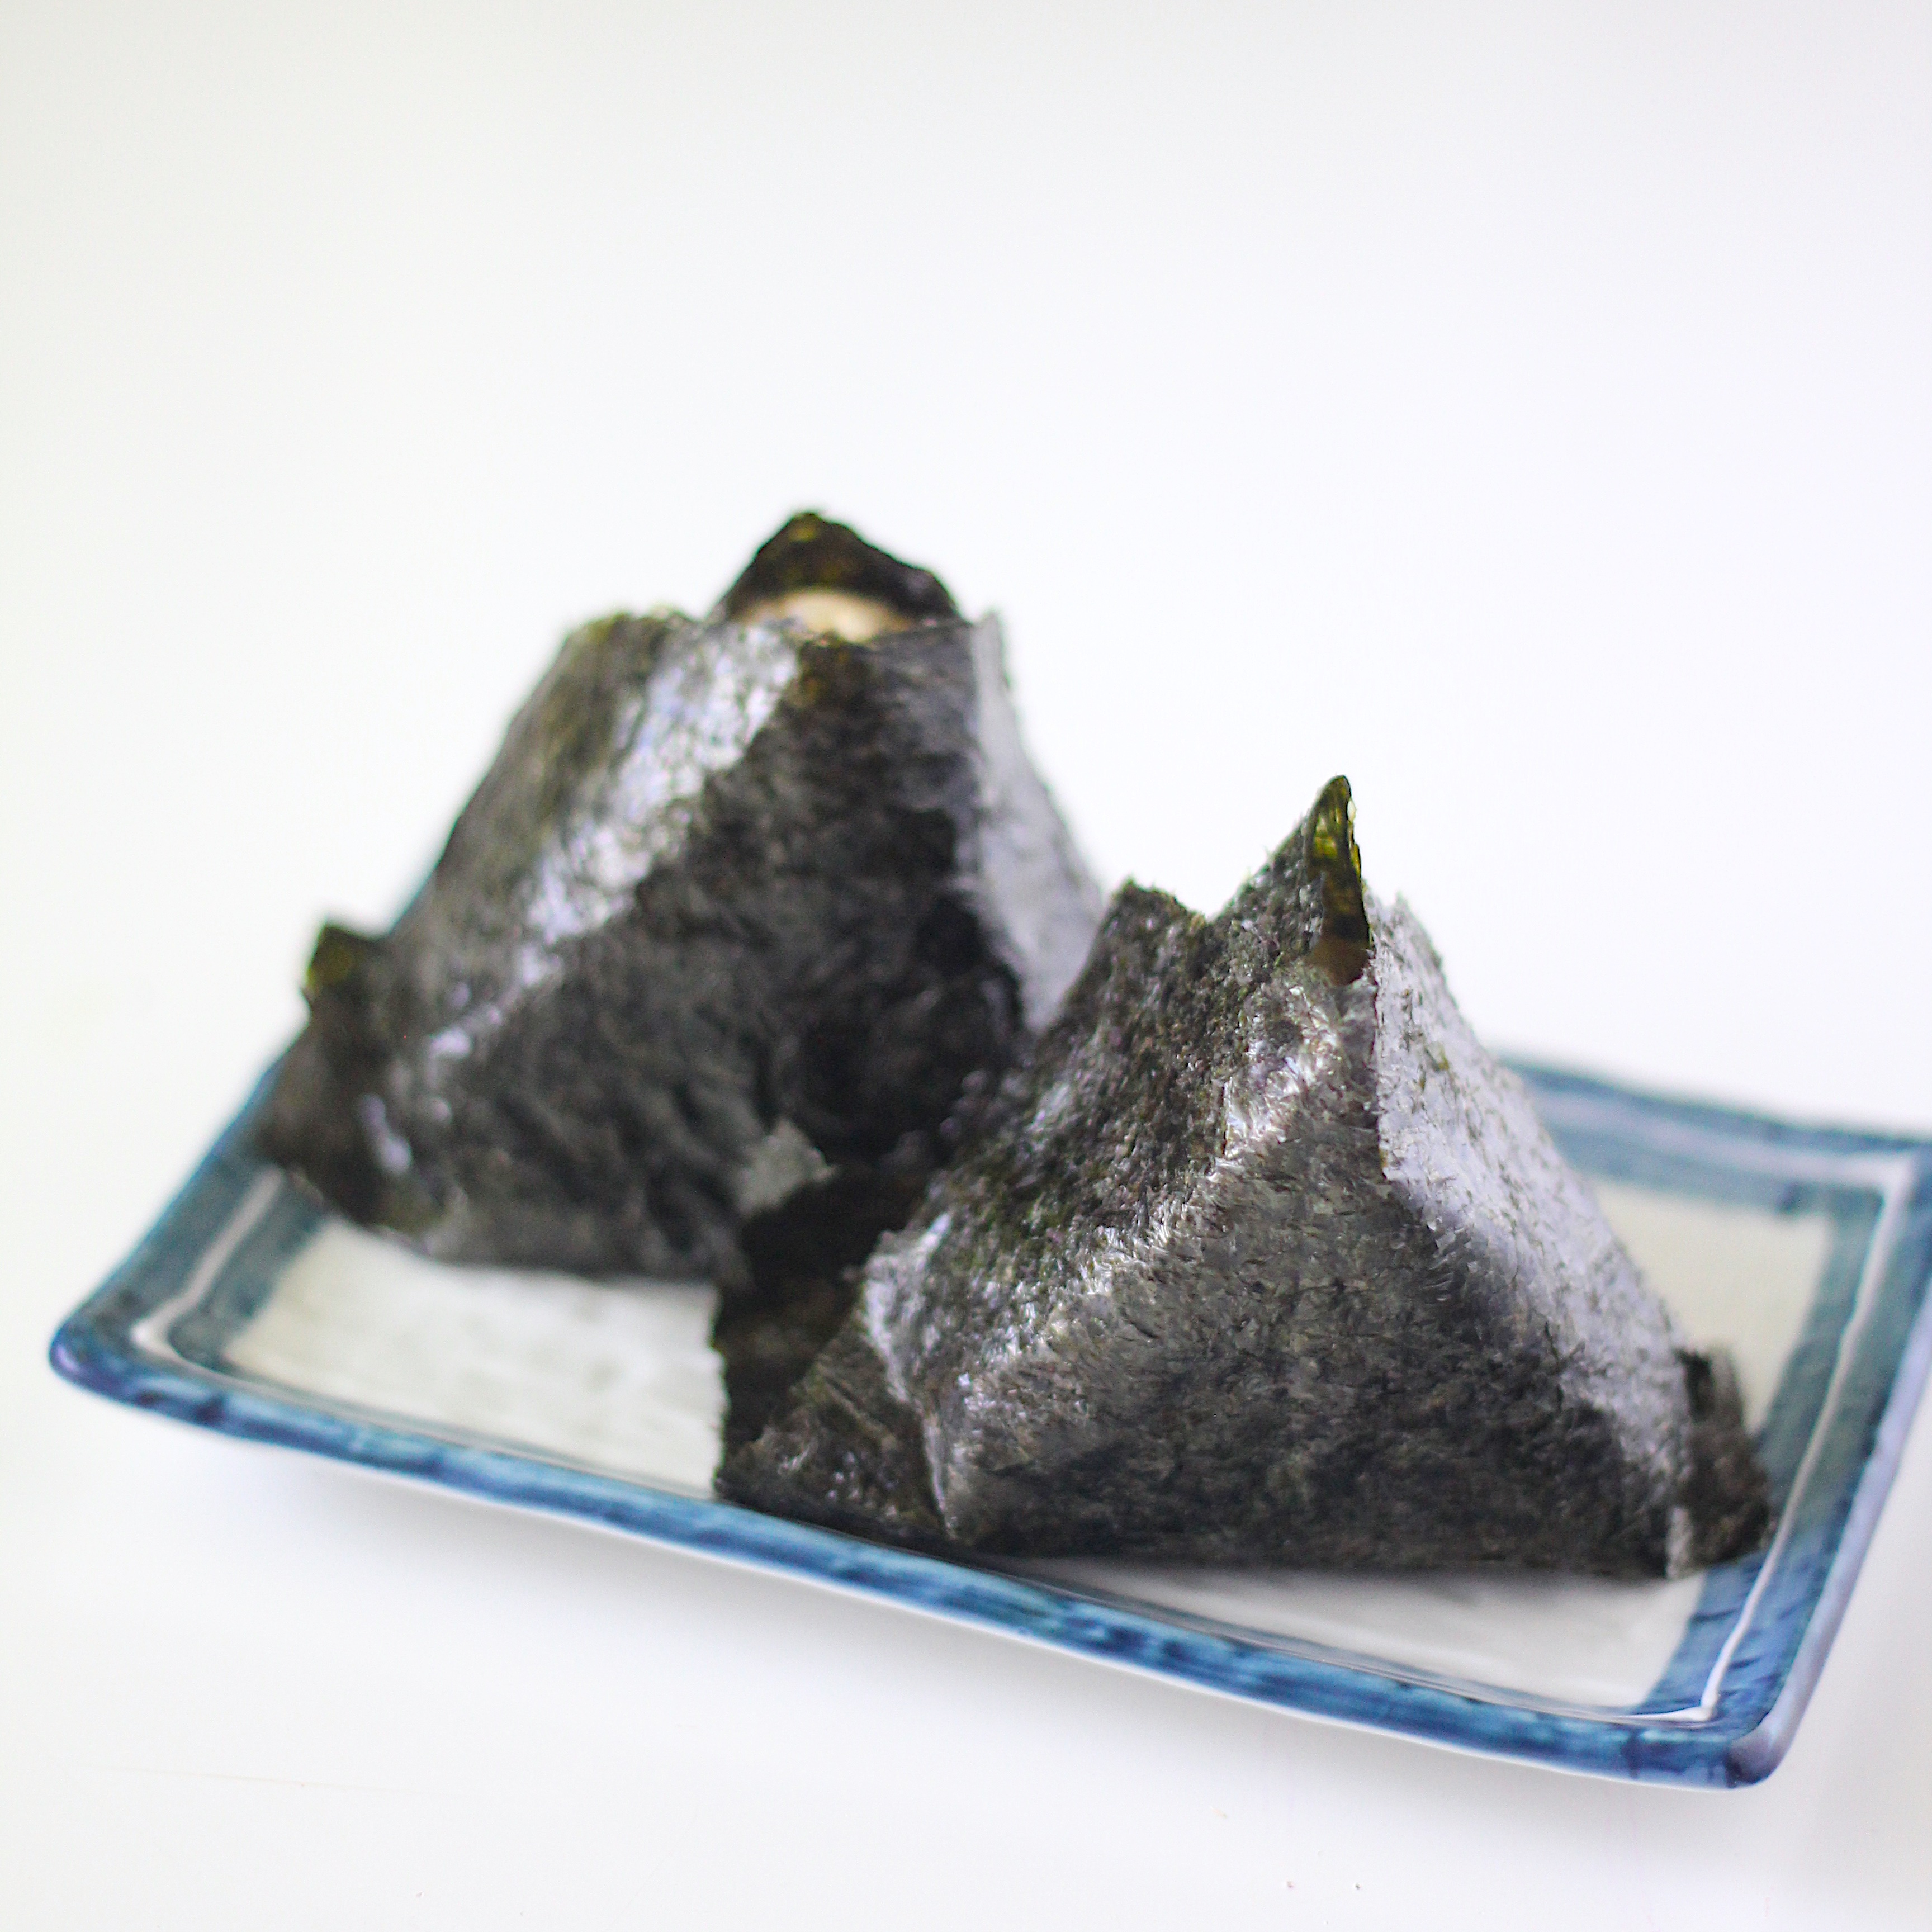
Step-by-step: Onigiri (Japanese rice balls)
You know how when you think of a typical packed lunch, there’s a sandwich in there somewhere? Peanut butter & jelly or ham & cheese, maybe? Well, the Japanese equivalent is the onigiri. It’s basically rice (always Japanese short grain rice), gently shaped into a ball or a triangle, either with some kind of filling or some seasonings mixed in, and then usually wrapped in nori, a crispy roasted sea vegetable. And pretty much every Japanese kid has these in their bento box everyday. I did. The 2 most traditional fillings are probably either a little piece of salmon or what’s called umeboshi, which is a pickled plum. Onigiri are so common and classic that they sell them in convenience stores everywhere. And the fillings are anywhere from classic to super updated and unique.
Are you wondering how you would make a ball or triangle out of rice and how in the world you fill it? Well, I’m glad you asked. And … we’ll get to that. But first, let’s talk about my version. (And oh, please dear Japanese family and friends don’t hate me for being totally inauthentic here) Onigiri are typically made with Japanese short grain white rice. Which isn’t bad bad, but … we all know that it’s kind of bad, right? So I opt for brown. But brown rice presents 2 little problems.
- It does not stick together like white rice does, and
- phytic acid.
If reading that second point made you go “whuuuuuut?!” then I’m glad you’re here, because we need to talk.
Bad news: Phytic acid is often referred to as an anti-nutrient, which means it prevents your body from absorbing nutrients. We don’t want that.
Good news: we can remove it. [yay!] Learn how here.
Now that we know how to maximize the nutrition of the brown rice, let’s go back to my first point: brown rice doesn’t stick together as well as white rice does. Though it’s still possible to make onigiri with short grain brown rice, you’re resulting experience may be a little crumblier, relying heavily on the nori sea vegetable you have wrapped around it to hold it together. My solution is quite simple, but unfortunately not always the easiest ingredient to obtain: sweet brown rice. I buy mine at our local Asian market, and they have a really awesome organic version that I love. But since you can’t all go to my local store, you can find this giant Lundberg bag or Bob’s Red Mill also has a great option, though it’s not USDA certified organic, so if that matters to you, I’d go with the Lundberg and plan on making lots of onigiri. Hopefully you’ll want to anyway, after reading this post.
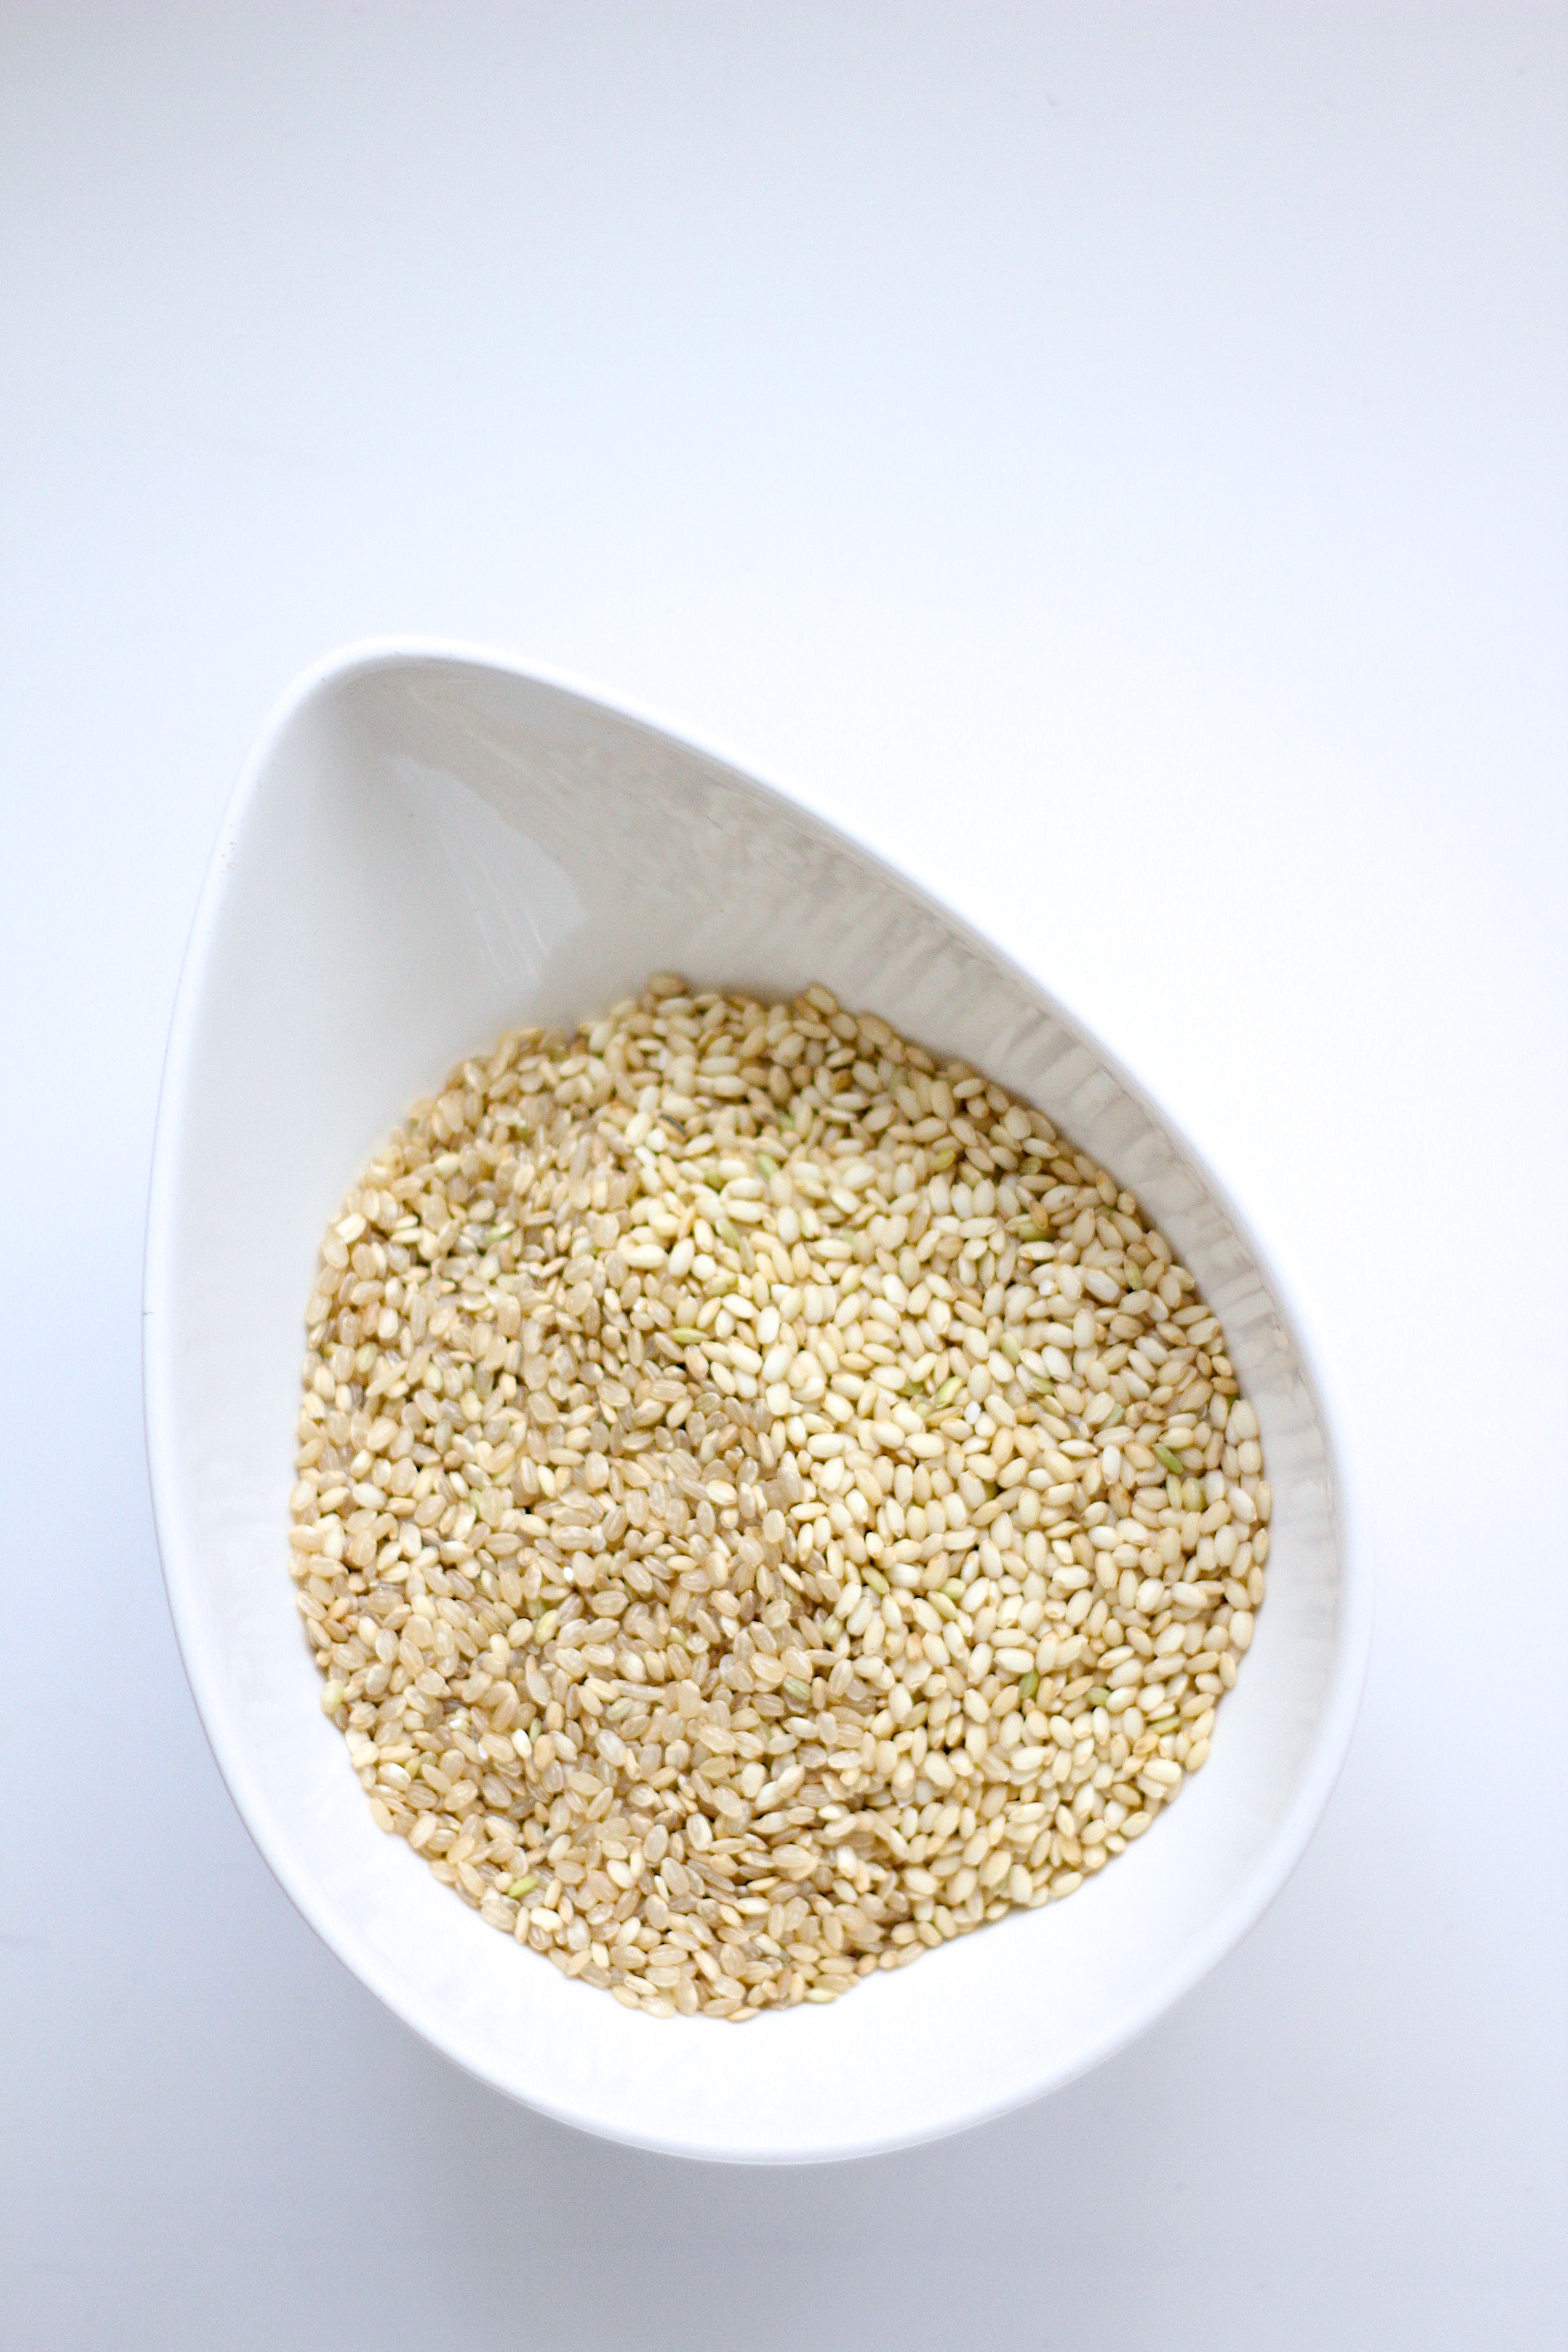 The sweet brown rice has more starch than the regular short grain brown rice, which is why it has that creamier apperance and, of course, why it becomes the extra glue that holds everything together. The ratio I use is 3 cups regular short grain brown rice to 2 cups sweet brown rice. And it holds together like a Goldilocks dream. Not mushy, not dry, not too sticky, just right.
The method is rather simple, but it might take some practice. This tutorial shows you how to make the classic triangle shape with a filling, (I used lightly salted avocado pieces for the tutorial–totally not traditional, but soooo good) but I also often sauté a generously seasoned salmon fillet, flaked, and mixed right into the rice. Then you don’t have to worry about the steps that involve opening a hole, adding your filling, and shaping the rice back around it. But if you like the filling idea, you can get creative with it. Don’t get discouraged if you can’t get a good triangle shape at first. I grew up with round ones, and that’s totally ok too! So let’s get to it.
Shaping method:
- Using about 1/2 cup of rice in a small bowl, gently spin the bowl to coax the rice into a ball shape.
- Gently press a small hole in the middle of the rough ball of rice.
- Place your filling in the hole.
- Shape the rice back around the filling without using too much pressure.
- Once the rice is sealed around your filling,
- Dampen your hands and rub a little salt onto your palms. This will season your rice.
- Roll the filled ball of rice into your salted hand.
- Carefully roll the rice into an even ball.
- Gently squeeze the ball of rice to hold it together. Don’t squeeze too hard.
- Using the knuckles that join at the base of your fingers at a right angle, shape the top of your triangle. The palm of your other hand will help to shaped the base of the triangle while the fingers and thumb curve around to hold the sides straight.
Wrapping method:
- Place a rectangular piece of nori on your work surface. (Just cut a sheet of sushi rice in half using kitchen shears) Place your shaped onigiri in the middle of the rectangle.
- Pull both sides of the rectangle up so that they are flat against the 2 triangular planes.
- Fold the corners over uncovered sides of the triangle.
- Repeat with the remaining corners.
- 2 cups cooked short grain brown rice and sweet brown rice blend
- whatever filling you choose to use
- nori sheets, optional (though I recommend using them)
- Using about 1/2 cup of rice in a small bowl, gently spin the bowl to coax the rice into a ball shape. Gently press a small hole in the middle of the rough ball of rice.
- Place your filling in the hole. Shape the rice back around the filling without using too much pressure. Once the rice is sealed around your filling, dampen your hands and rub a little salt onto your palms. This will season your rice. Roll the filled ball of rice into your salted hand.
- Carefully roll the rice into an even ball. Gently squeeze the ball of rice to hold it together. Don't squeeze too hard.
- Using the knuckles that join at the base of your fingers at a right angle, shape the top of your triangle. The palm of your other hand will help to shaped the base of the triangle while the fingers and thumb curve around to hold the sides straight.
- Repeat with remaining rice and filling
- Place a rectangular piece of nori on your work surface. (Just cut a sheet of sushi rice in half using kitchen shears) Place your shaped onigiri in the middle of the rectangle. Pull both sides of the rectangle up so that they are flat against the 2 triangular planes. Fold the corners over uncovered sides of the triangle. Repeat with the remaining corners.
- Some great fillings include generously salted sautéd fish, diced avocado, diced fried tofu, vegetables, chicken. Get creative!
Happy lunching!


Celeste
September 30, 2015
AW! I’ve been telling myself for years (YEARS!) that I have to figure out how to make these–so so yummy!! You read my mind I guess that all I need are, ya know, micro-detailed instructions and step-by-step photos. You know your audience 😉 Gorgeous photos!
Lillian
October 2, 2015
Oh my gosh, thank you! I’m so happy to know that this is helpful for you, and that you have good memories of me making them for you:) Let me know how it goes!
Laura
September 30, 2015
My family is going to absolutely love these! I’m so happy we can customize for Emma (she always throws a wrench in the gears when I’m craving salmon). You’re right, the avacado filling looks scrumptious! I can see these becoming a favorite for Eden, who is frustrated with packing school lunches, and I’m thrilled to have something portable to fix that doesn’t involve wheat! Yay!!!
Lillian
October 2, 2015
Hooray! I’m so glad you are going to try this, Laura! I hope you like them:)