
Rustic Whole Wheat Sourdough Loaf
This recipe is very similar to my previous white sourdough loaf. But a few of the measurements and techniques are a little bit different because it’s made with whole wheat flour instead of white all-purpose flour.
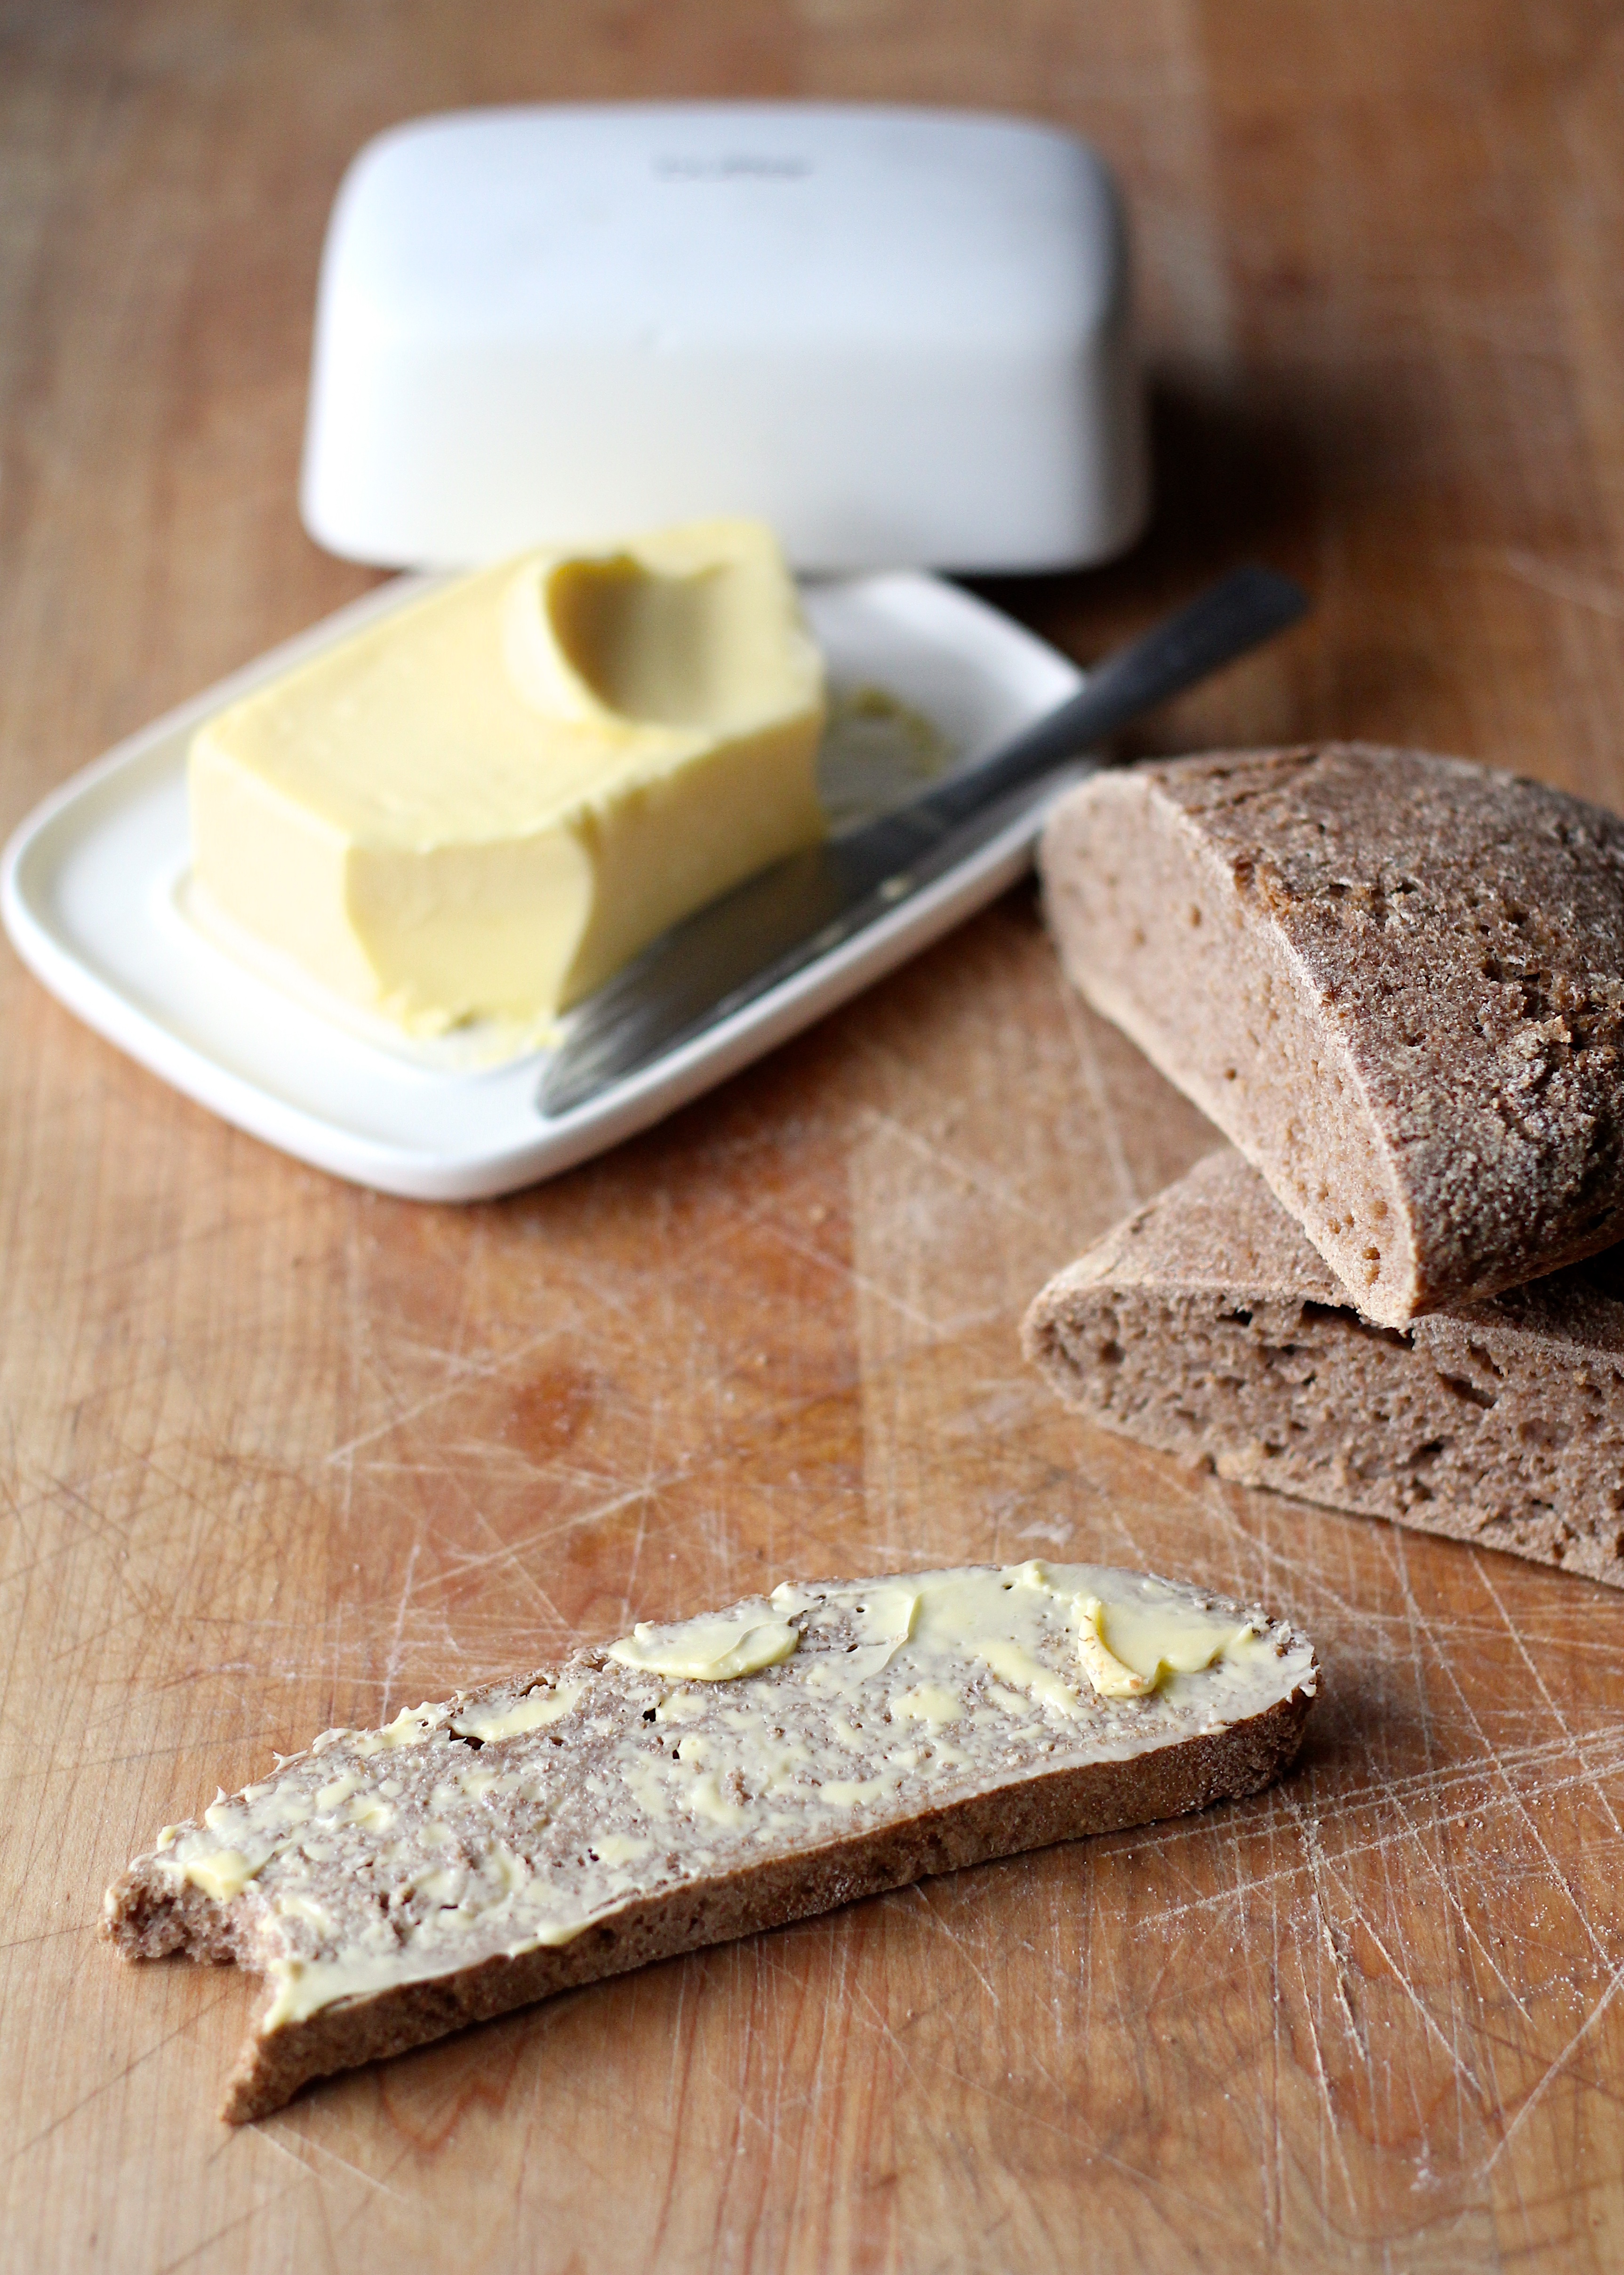
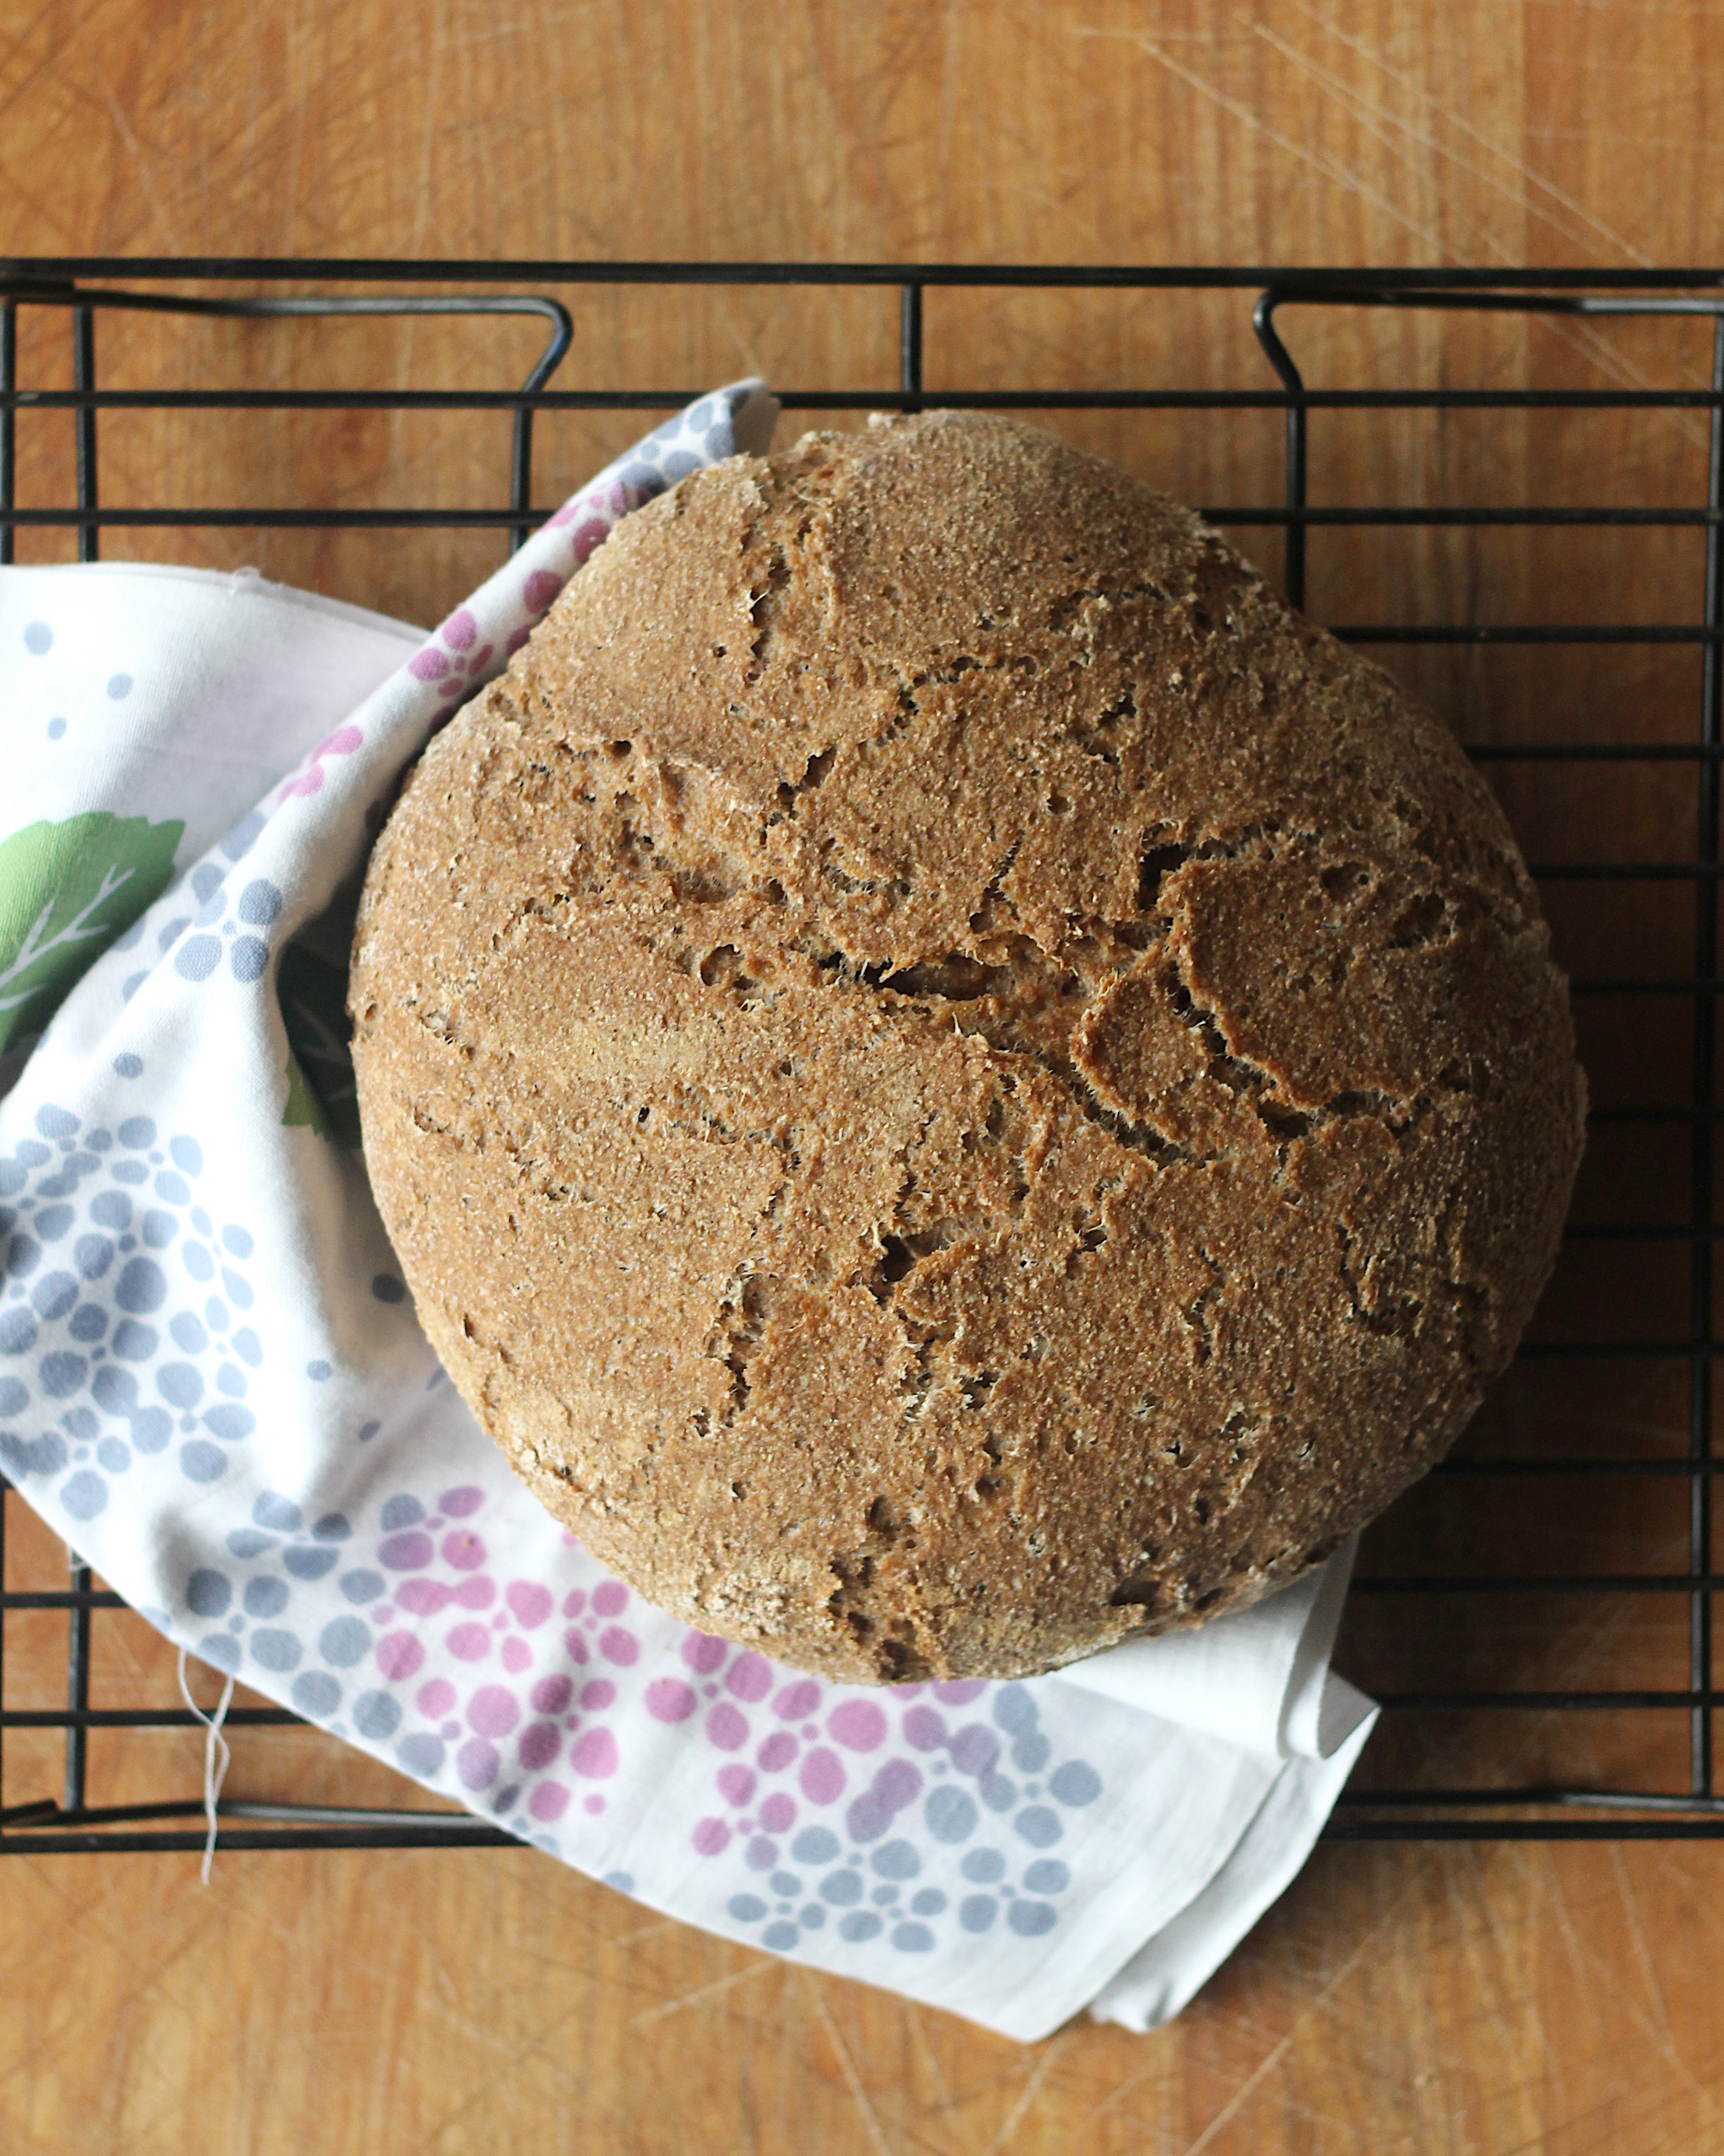 I love this loaf because it’s so hearty and rich and nutty, and the sourness is much more pronounced than with white bread. I like a rustic loaf with an open crumb (larger air bubbles), and because the bran and germ of the whole grain absorbs liquid and takes longer to do so, I use a little bit more water that with the white. Unfortunately, more water means more flow (spreading of the dough), but I happily sacrifice the narrow, long slices for the beautiful interior. But as you get the hang of this, play around with the measurements to achieve your favorite balance.
 To better understand the method, check out the step by step photos in my Simple Rustic Sourdough Loaf post, and you’ll see how it’s done. The main difference is that you use a tiny bit of water on your prep surface instead of flour. Using added flour runs the risk of drying out your loaf. Remember that with whole wheat, a little too wet is better than a little too dry.
Enjoy!
- 3 cups whole wheat flour (preferably organic and freshly ground)
- 1-1/4 teaspoon fine sea salt
- 1/4 cups sourdough starter
- 1-1/2 cups cool water
- In a large bowl, combine all of your ingredients and stir with a wooden spoon or dough whisk until thoroughly mixed. Cover and let rise on the counter for 12~24 hours. In warmer weather, go with the shorter rise, cooler weather the longer rise. Keep an eye out for the dough doubling in volume.
- After the first rise, scrape the dough out onto a clean, damp surface. Using a bench scraper, gently pull one side of the dough over, turn and pull another side, and keep repeating until you have a tight little ball. It'll take 4~6 turns.
- Wet a clean kitchen towel and squeeze out any excess water. You want a barely damp towel. Pick up the dough ball, seam side down, place it on the prepared towel. Loosely fold the towel over the dough and let rise 2~3 hours.*
- 30 minutes before baking, preheat the oven to 475°F with a large, heavy bottomed, lidded pot inside.
- After the full second rise and preheat, Place the dough seam side up inside the preheated pot. Put the lid on and bake in the oven for 30 minutes. Then remove the lid and bake for an additional 15-20 minutes until the crust is a dark golden brown.
- Let cool completely before cutting.
- *If you have a banneton, I highly recommend using it to let the bread rise because this dough will flow. But I often just let it rise in a bowl of similar size.


Be the first to comment.