
Whole Wheat Sourdough Sandwich Loaf
It’s National Homemade Bread Day! Let’s celebrate! And what’s more homemade than a loaf made with a home-grown sourdough starter? One of my go-to breads that I (try to) make at least weekly is a basic 100% whole wheat sandwich bread.
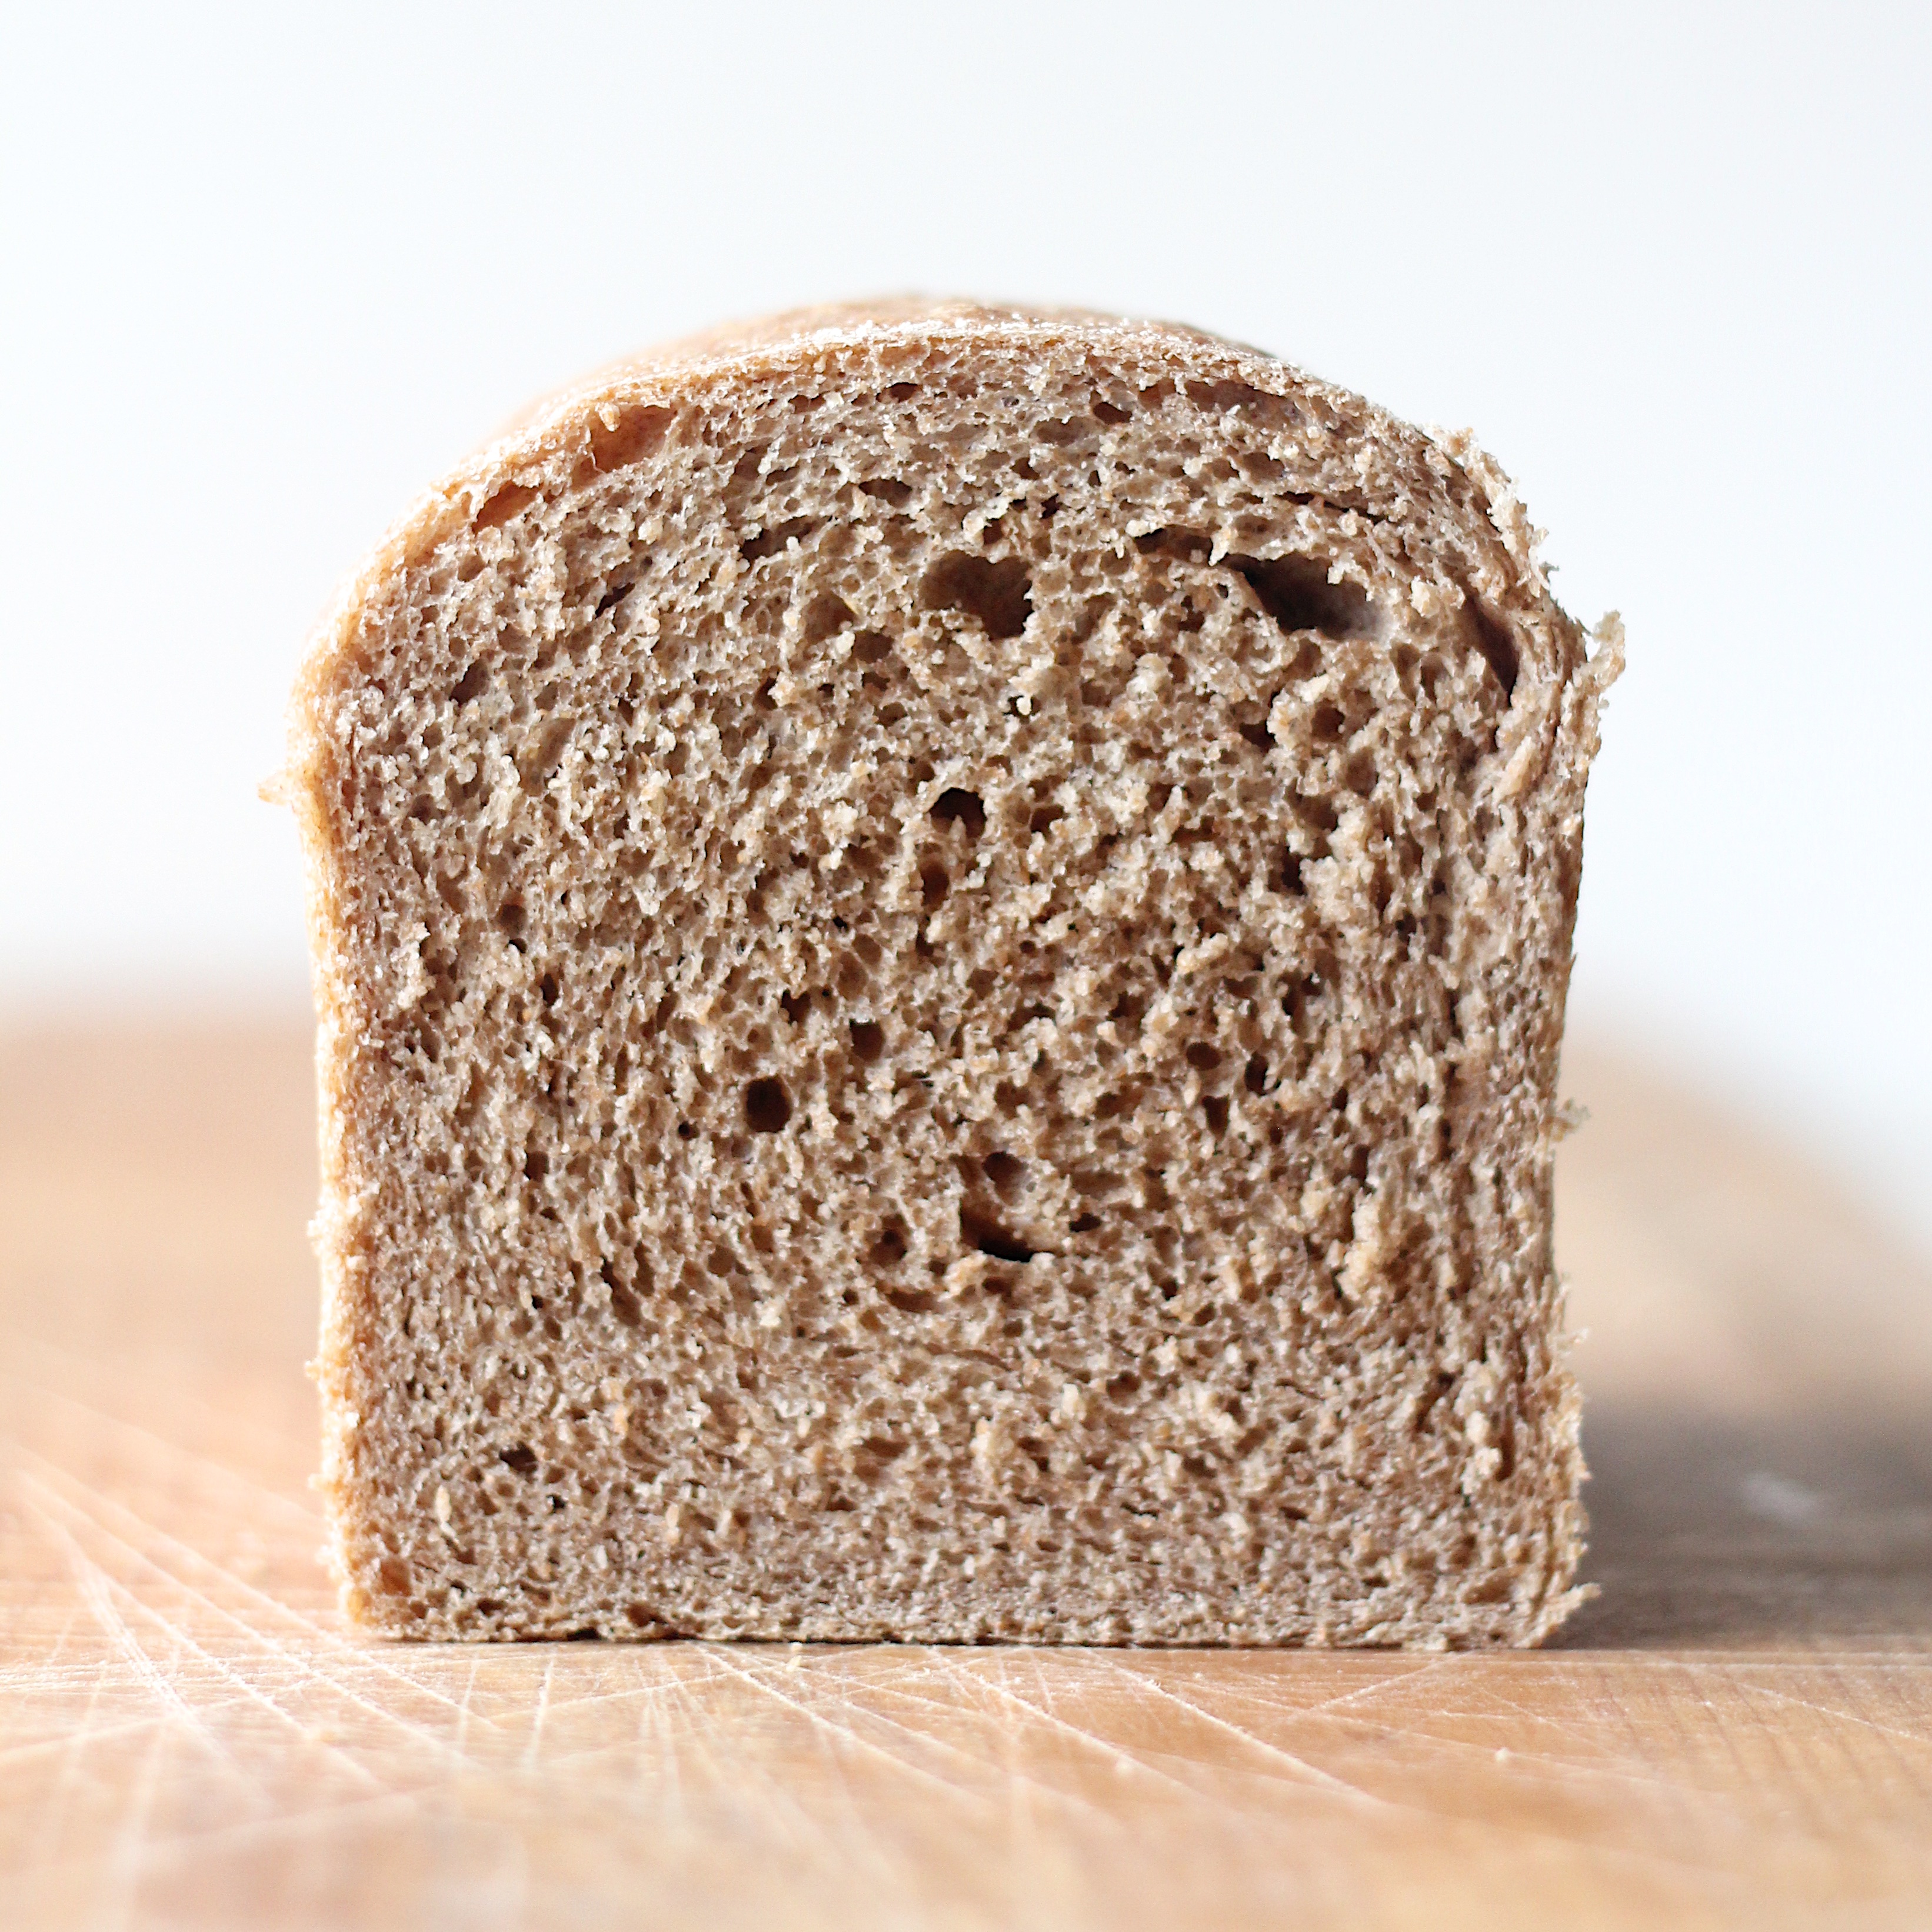 The sourdough prevents it from becoming too dense and crumbly, which is how homemade whole wheat bread often turns out. And, have you ever noticed that whole wheat bread is usually really bitter? We’ve come to believe that whole wheat is the health-conscious, poor man’s version of white bread. To offset that, most bread companies use a lot of sugar to mask the off-flavors, which kind of defeats of the purpose of the health benefits of using the whole grain. (Though you’re not getting the benefits of whole grain from store-bought bread anyway because the phytic acid hasn’t been removed) But whole wheat bread is gloriously rich and nutty with not a hint of bitternes (even without added sweeteners), it’s just a matter of the freshness of the flour. The bitterness is, unfortunately, from rancid flour. So I really recommend finding a tool of some sort to grind your wheat. Either a grain mill (electronic or manual), or a high speed blender.

Working with whole wheat flour can be tricky. The little shards of bran and germ kind of work as tiny little knives and chop up the gluten that you’ve worked so hard to develop, and thanks to those pesky little nutritious shards, it takes longer for the flour to absorb water. The longer rise that comes with working with a natural yeast starter helps the dough to develop better, so there’s less risk of that craggy dense loaf. Then we have the problem of a slower absorption of water, making it tempting to add more and more flour into the dough itself and onto the surface you use to knead and shape. But the added flour results in a dry, crumbly loaf of bread. One way to combat that is to use a tiny bit of water on your hands and on the work surface instead of flour. A little too wet is better than a little too dry.
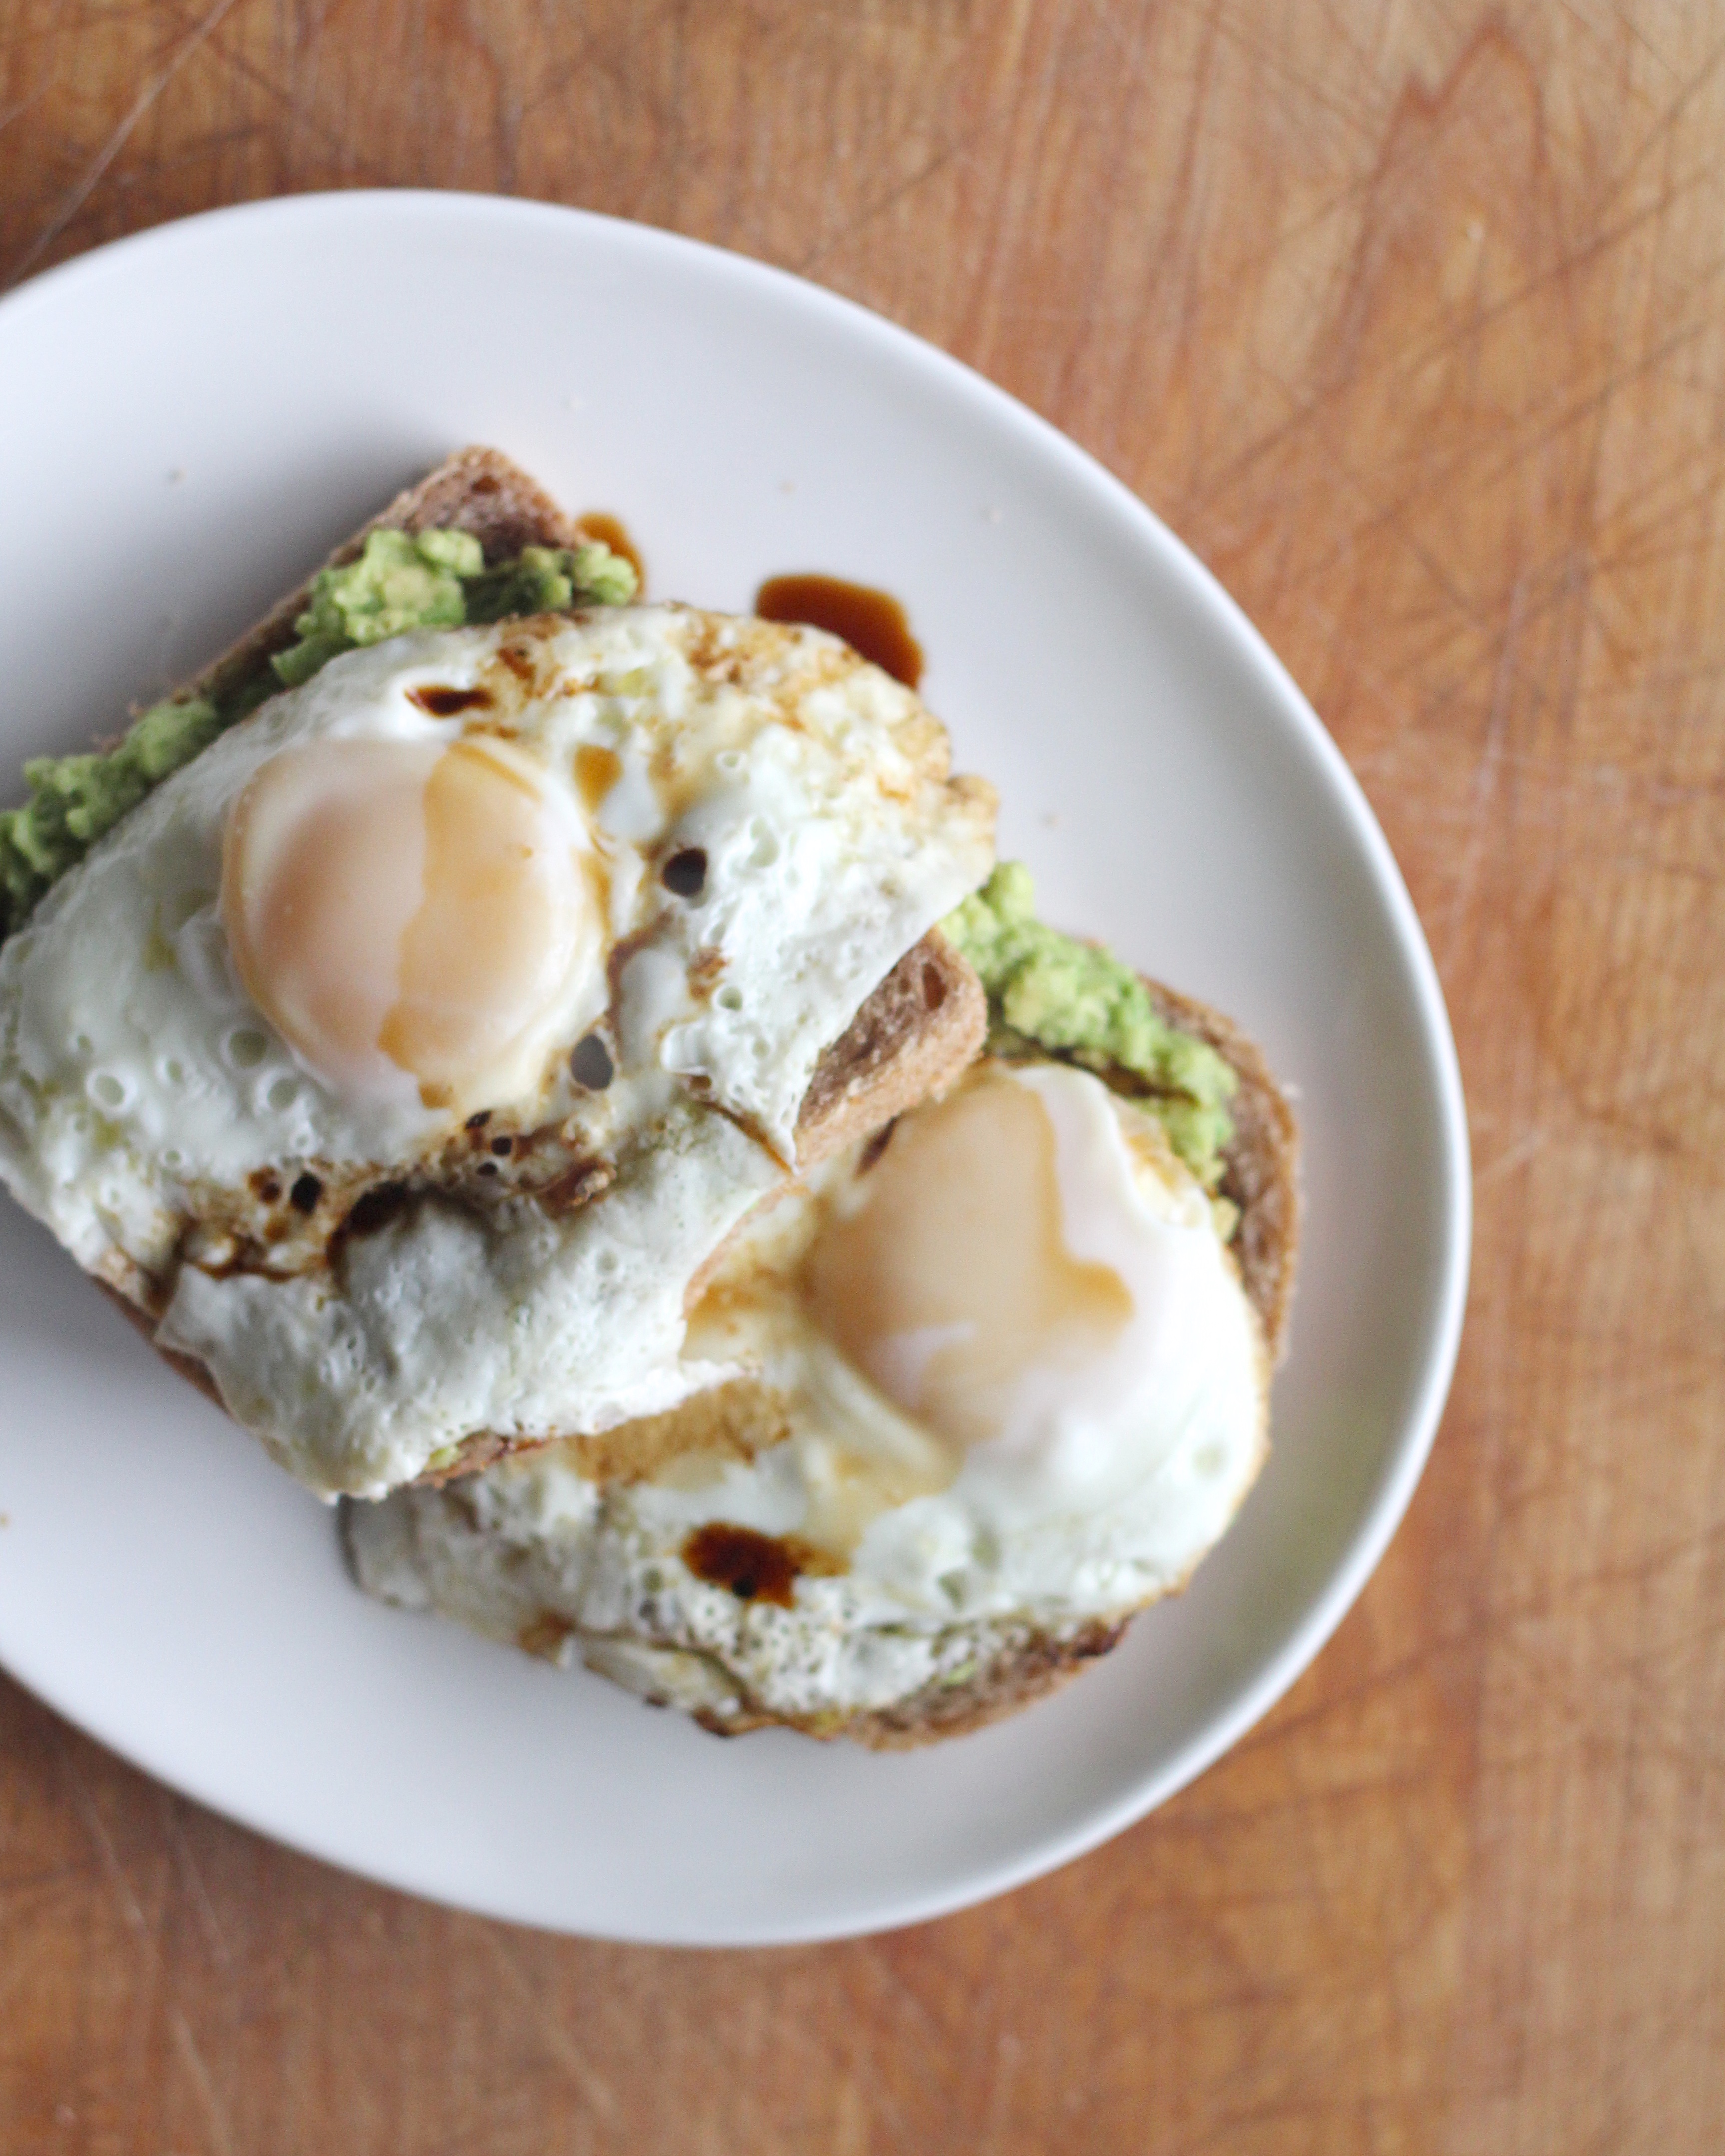 That was my breakfast today. Super thin slices of my homemade sandwich bread, smashed avocados with sea salt, and a fried egg with Japanese soy sauce on each. This bread is perfect because it’s soft and fluffy, but sturdy enough to hold a heavy load without collapsing or tearing.
It’s true, this bread requires a whole lot more patience and work than running to the store to grab a quick loaf to make sandwiches or toast, but most of it is hands-off time, and the flavor is just incomparable. Plus, it makes 2 loaves, so can slice and wrap the second loaf up really well and stick it in the freezer for another day.
- 1/2 cup sourdough starter
- 2-1/2 cups cool water
- 2 teaspoons fine sea salt
- 1 tablespoon butter of ghee, melted
- 6.5-7.7 cups whole wheat flour, preferably organic and freshly ground
- 2 tablespoons honey
- In the bowl of a stand mixer, combine the starter, water, salt, and butter and mix well to combine.
- Switch to a dough hook and add about 5 cups of the flour with the honey and turn the machine on low until well-mixed. Keep adding flour, 1/2 cup at a time, until the dough cleans the sides of the bowl but is still attached to the bottom. At this point, let the dough knead in the mixer for 10 or so more minutes until it passes the "window pane test"*.
- Using a dough scraper, scrape the dough out onto a clean, slightly damp work surface and knead the dough with slightly wet hands until it becomes a smooth, round ball. It may stick a little to your surface, so a bench scraper is very helpful in helping peel it up if needed.
- Place the dough ball, smooth side up in a bowl large enough to hold at least double the volume of your dough.
- Cover the dough with lightly greased plastic wrap or a heavy damp kitchen towel. Let rise on the counter for 6-12 hours until doubled in size.
- Feed your starter, and let rise on the counter until double in volume. Once doubled, you can use immediately or place in the fridge.
- Once doubled in volume, turn your dough out onto a clean, wet work surface. Grease two loaf pans** liberally. Wet your hands slightly, and cut the dough in half using a bench scraper.
- Take one of your pieces of dough and stretch it out into a 9 inch square. Take one side and roll it into a tight cylinder and pinch the seam closed. Place the load, seam side down, into the prepared pan. Repeat with the remaining half of the dough. Cover both with a lightly greased piece of plastic wrap, and let rise for two hours, preferably in a slightly warm area. If it's really cool in your kitchen, the second rise may take longer. You'll know it's ready when it's almost doubled in volume and returns a gentle fingerprint.
- 30 minutes or so before your bread has completed it's second rise, preheat the oven to 375°F. Bake the bread for 35-40 minutes, until an instant read thermometer inserted from the side into the middle of the loaf shows 180°F.
- Remove the loaves from the pans and let cool completely before slicing.
- * The "window pane test" is when you hold the dough out in front of you and stretch it until it's so thin that you can see light pass through it. If it breaks, the gluten hasn't been developed enough and needs to be kneaded longer. If it doesn't break, you have sufficiently developed the gluten.
- **I really like to use a 9x4x4 pullman loaf pan, I think it has the most polished, professional result. But any 9 inch or slightly smaller loaf pan will work well for this recipe.
- This bread freezes really well, so you can slice your cooled loaf, wrap it tightly in plastic wrap and then foil, (don't forget to label it!) and place it in the freezer for another day.
This is my favorite loaf pan. I used it without the lid for these photos, but I also love the very crisp, square slices when I use the lid. Either way, it’s a really great loaf pan and I highly recommend it.
Comments
- Sourdough Sandwich Bread - Scratch Eats - […] backpacks, soccer, lunch boxes. And hopefully this bread will help you out. I’ve shared some 100% whole wheat sourdough…


replica tag heuer grand carrera calibre 36 rs
December 11, 2015
I’m really loving the theme/design of your weblog. Do you
ever run into any web browser compatibility issues? A few of my blog visitors have complained about my site not working correctly in Explorer but looks great in Chrome.
Do you have any solutions to help fix this issue?
Sandy G
December 8, 2016
This is an excellent recipe! Nice tight crumb, great crust. Will make again for sure. Thank you
Lillian
January 2, 2017
Thanks so much, Sandy! Hope you like it!
jessica
February 24, 2017
Do you have a favorite bread loaf pan you like to use?
Lillian
February 28, 2017
What a great question! I feel like I’m always oscillating between favorites, but my current favorite is the USA Pan 9x4x4 inch pullman loaf pan. I always have consistent results when I use it, with crisp corners and the added bonus of the lid, if you want the classic square slices. Thanks for visiting!
Mary Fouts
March 15, 2017
HI Lillian, sounds like a great recipe! Regarding your sourdough starter, was it fed or unfed? Thank you!
Lillian
March 16, 2017
I usually use the starter at peak ripeness. But I’ve also been lazy and made bread with it when it’s been sitting in my fridge for a few days, and it still turns out well. Thanks so much for visiting! Please let me know if you have any other questions!
Tabitha
November 8, 2017
Hi! I found you by searching “whole wheat sourdough sandwich bread”. I’ve been feeding a starter for a couple of weeks, and I’m searching for a recipe to begin developing as the replacement for the regular whole wheat bread I usually make for my family.
My question is: is this part of the recipe “Feed your starter, and let rise on the counter until double in volume. Once doubled, you can use immediately or place in the fridge.” just a reminder for people to feed their starter? I wasn’t clear on how that portion of the instructions related to the rest of the recipe.
Tabitha
November 8, 2017
Also, where is the honey added? I have the dough kneading in the mixer now, but I don’t see where the honey goes in. I’d have guessed in with the first few ingredients, except that it’s positioned last on the ingredients list.
Lillian
November 8, 2017
Tabitha,
Thanks for your question. Yes, it’s just a reminder to feed the starter. Since it’s more of an introduction to sourdough kind of recipe, I just wanted to include that specific instruction to help my readers get into the routine of working with a starter vs. granulated yeast. And the honey. How silly of me not to write that part in! I will fix it immediately. Thank you!
Elli
December 29, 2017
Do you also have this in metric? I was thrilled to find many of your other delicious recipes in grams and milliliters.
Lillian
January 6, 2018
Unfortunately, I don’t. I published this recipe before I started working exclusively in grams. But I am working on an updated version, so stay tuned! Thanks for visiting!
Lori
March 4, 2018
Thanks for this recipe, it sounds like just what I have been looking for! I have 2 questions; I may have missed it but I don’t see how long to knead the dough (by hand). Also, which fat (butter or ghee) works better in this recipe? Since ghee has the water and milk solids removed, I would think it could make a difference? Ok, 3 questions…have you tried adding any nuts or seeds and did you alter anything else when doing so? Thanks!
Sophie
June 18, 2018
Have you got weight measurements for the dry ingredients (and ideally for the starter)? I’d love to try this but admit I hate making bread with volume measurements
Michele Whitenight
August 29, 2018
Can u use butter instead of ghee. I can’t find ghee around here
Kavita
August 6, 2019
Can you please put this recipee in grams instead of cups