
Sourdough Sandwich Bread
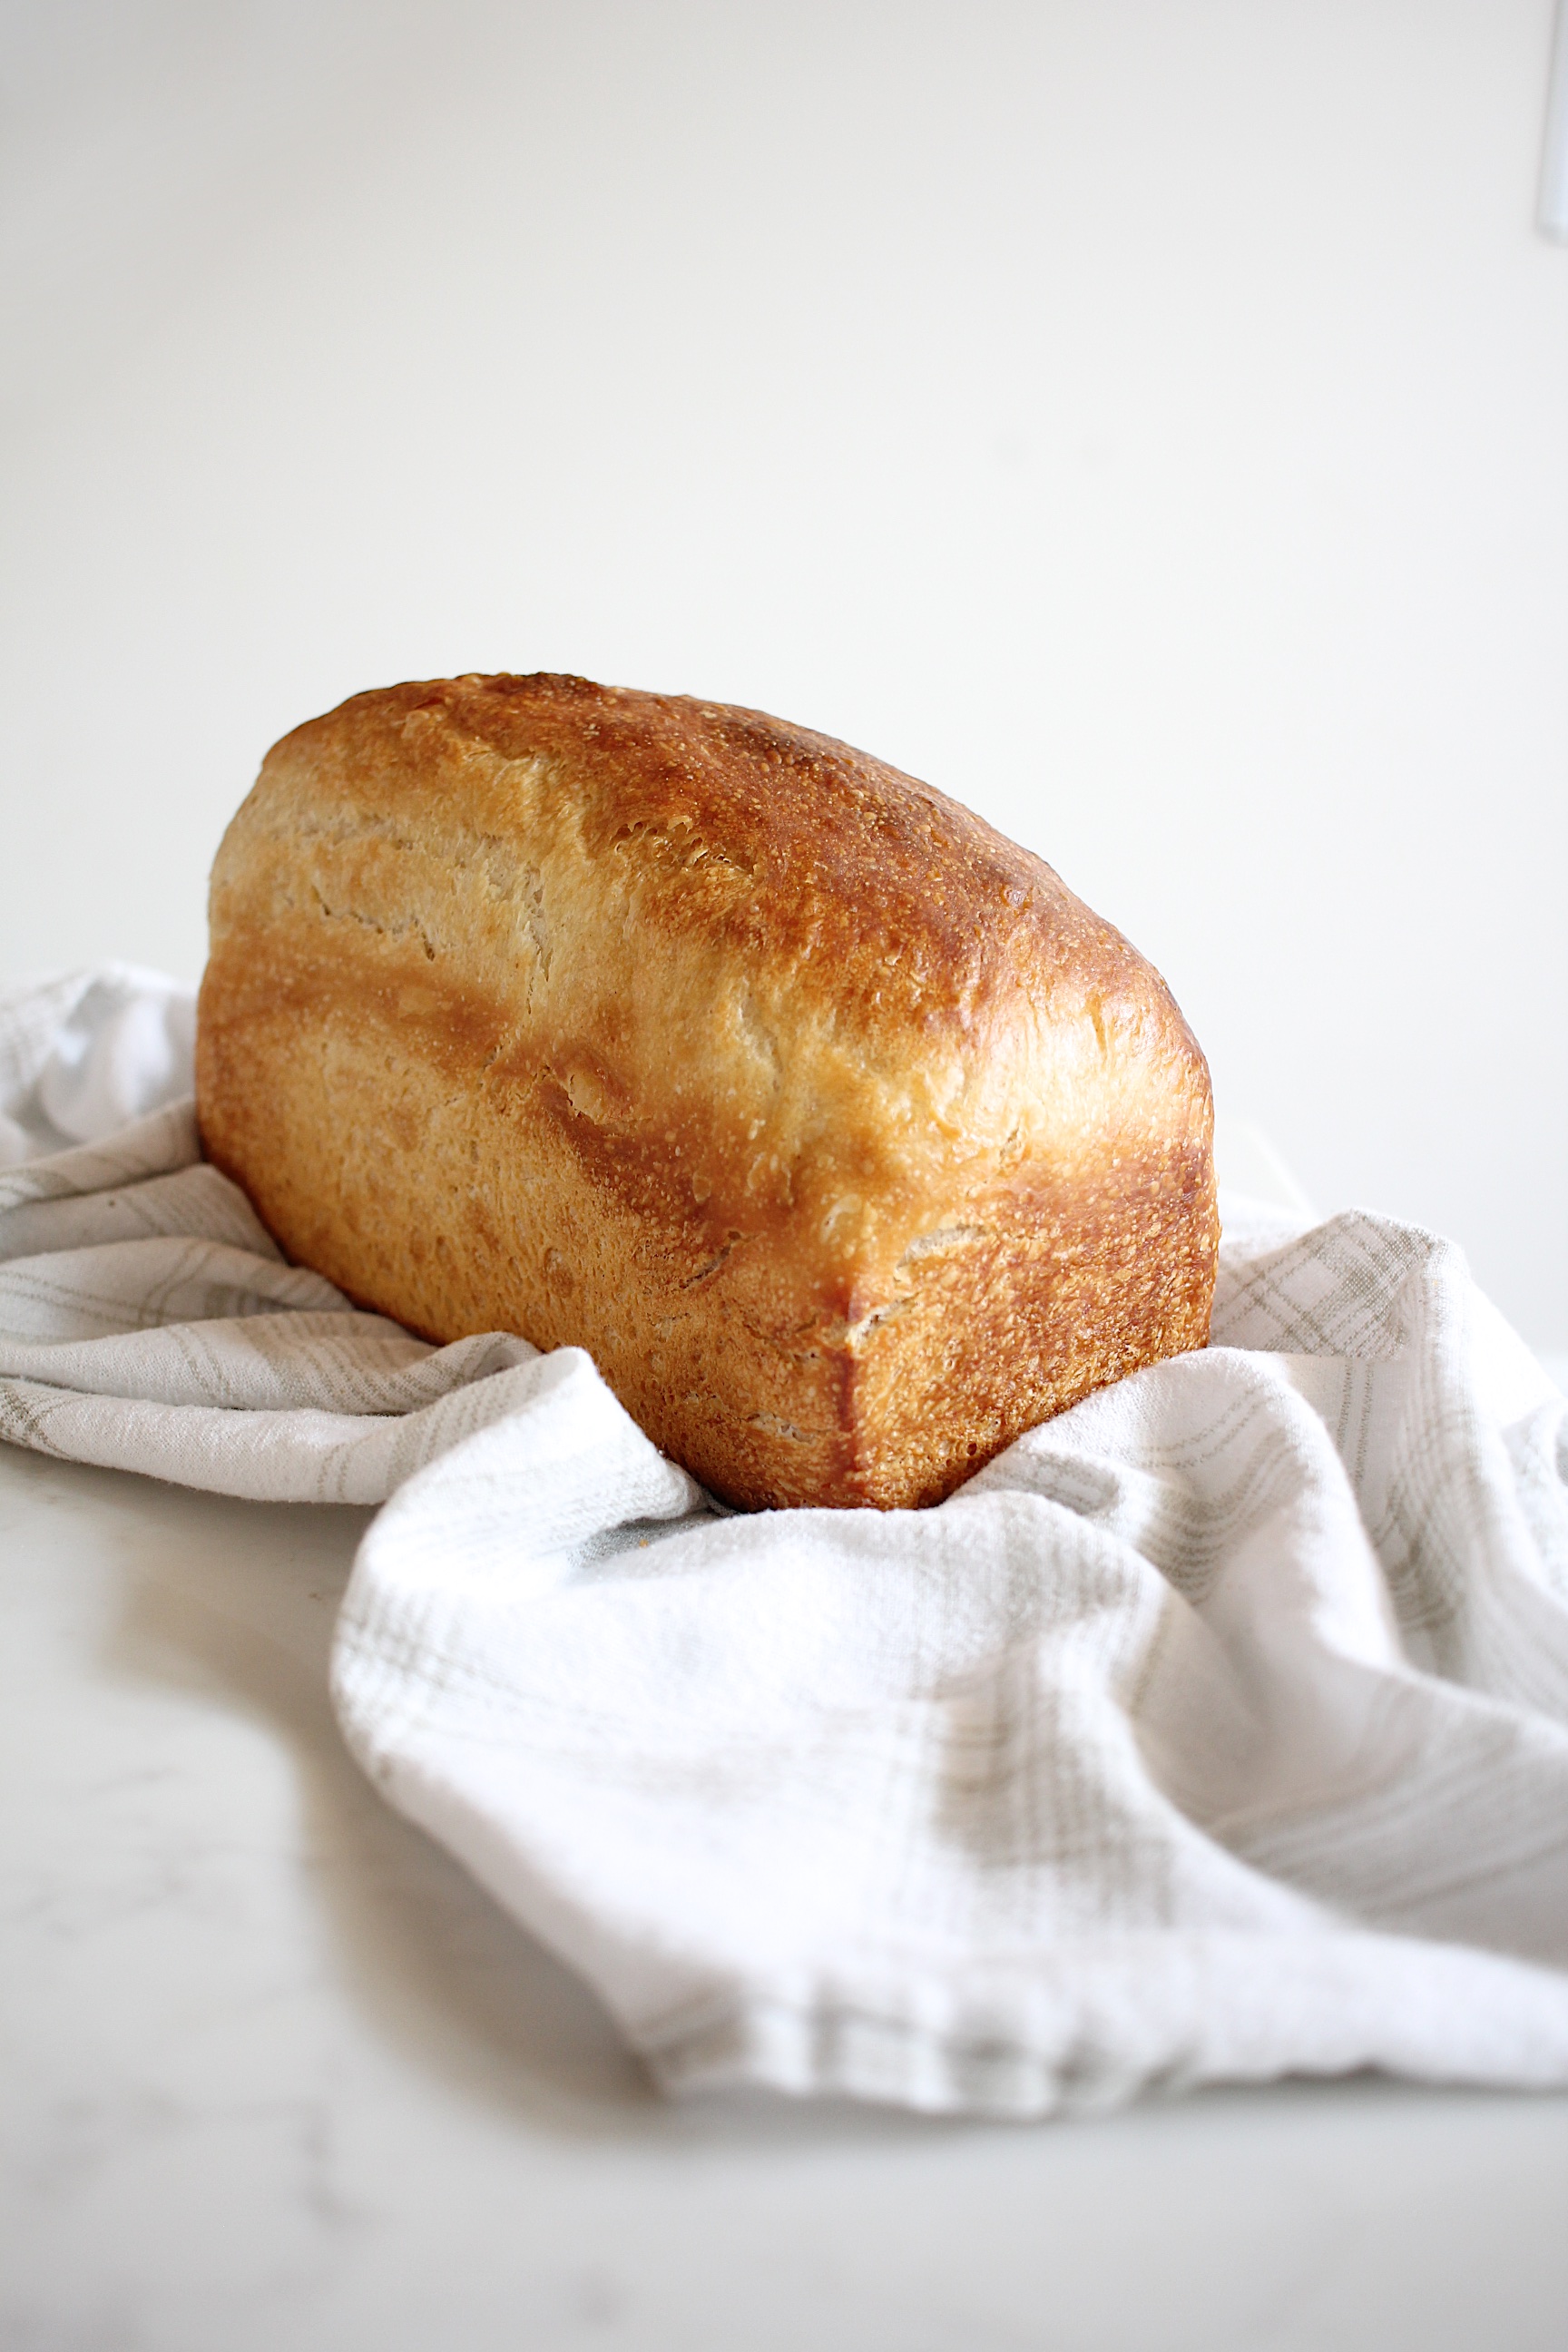
This easy Sourdough Sandwich Bread is soft but still sturdy enough to stand up to any fillings, making it the perfect back to school lunch box staple.
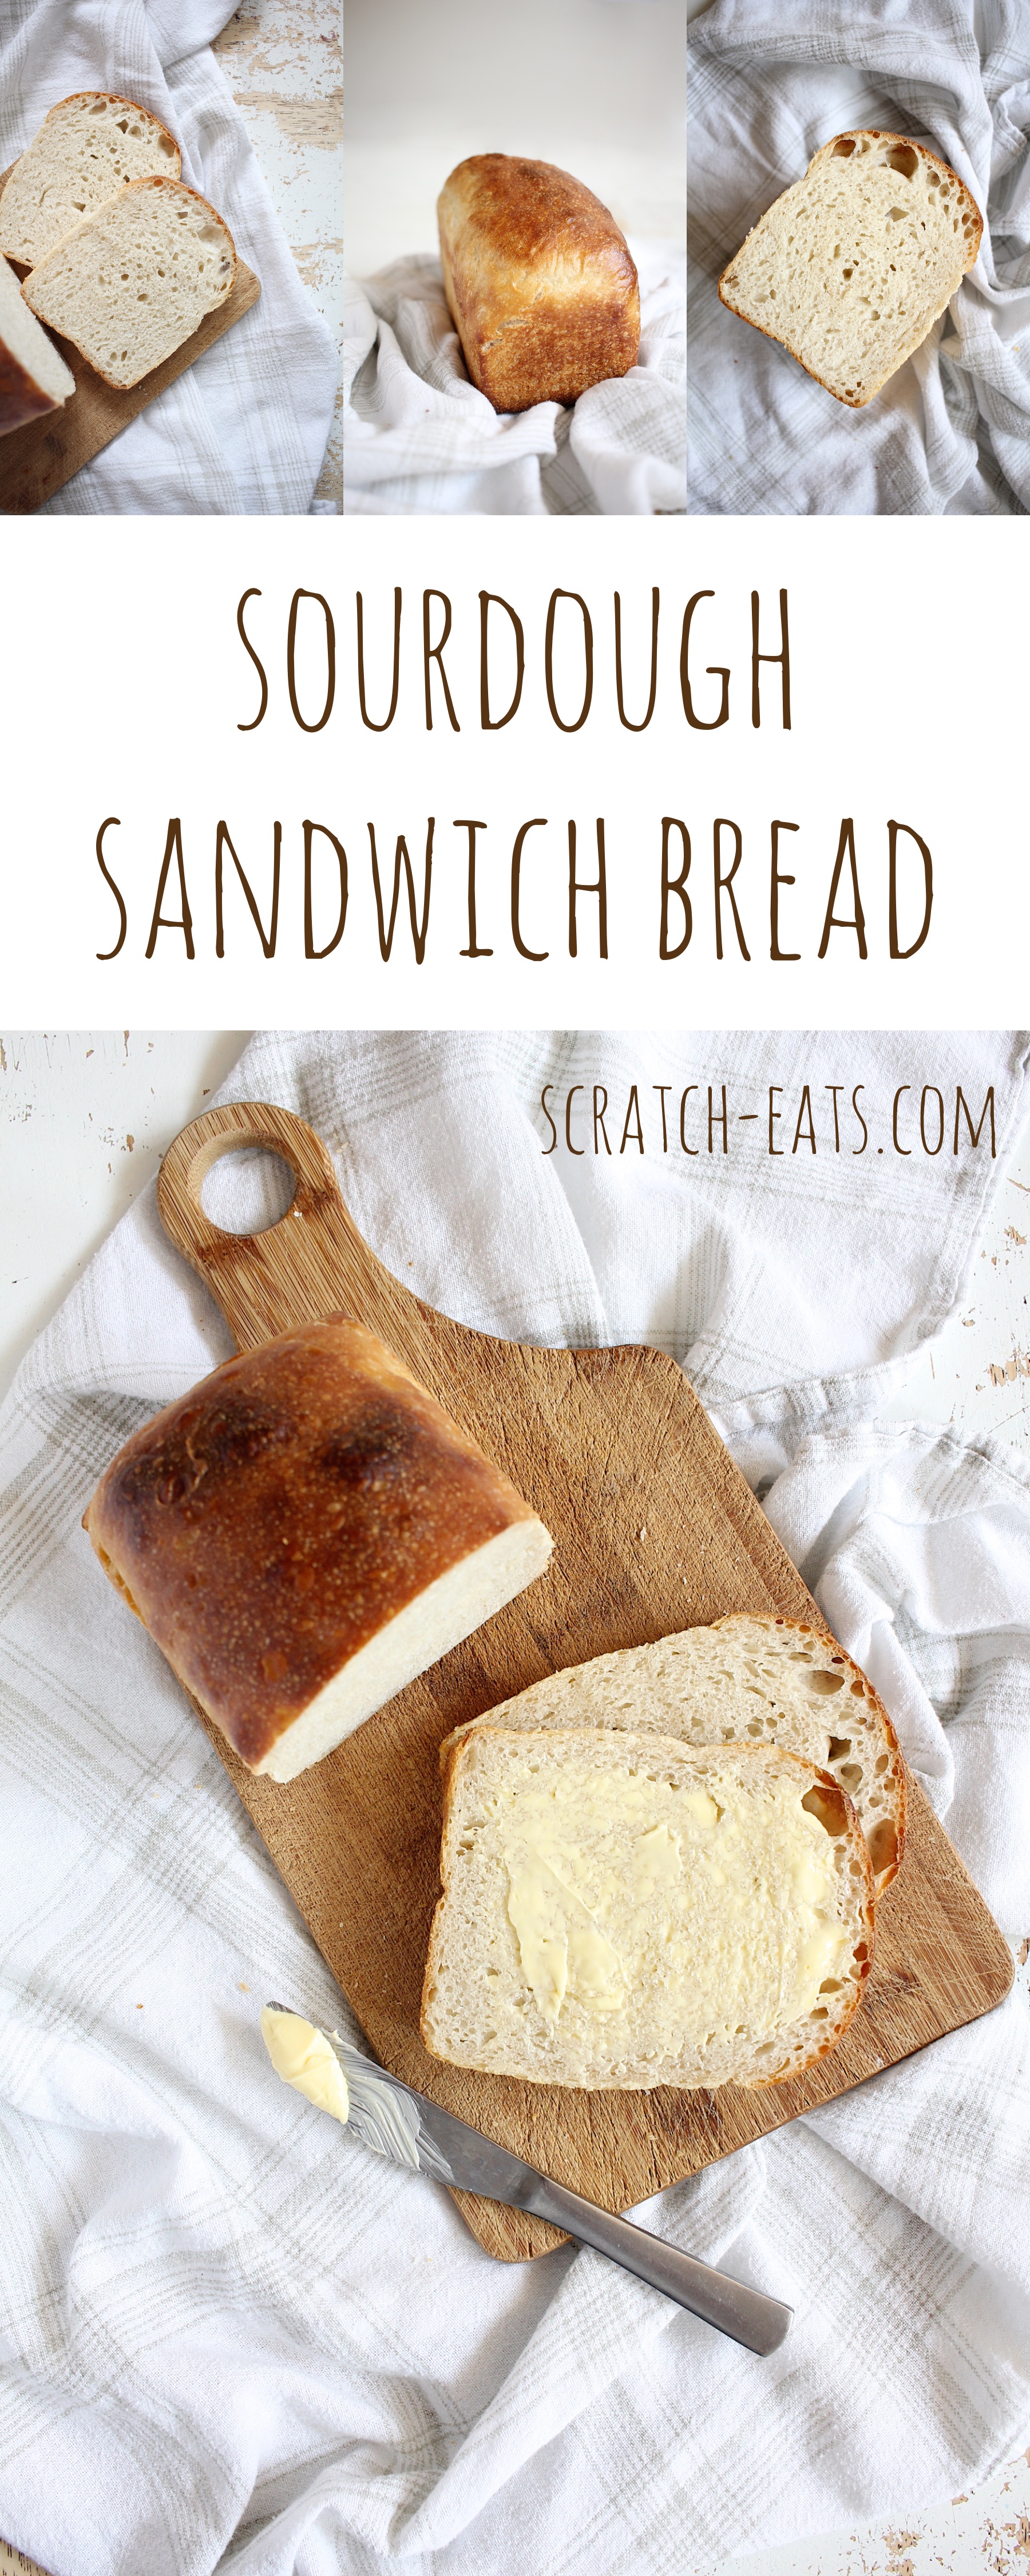
It’s back to school season! Which means you’re probably thinking about pencils, erasers, backpacks, soccer, lunch boxes. And hopefully this bread will help you out. I’ve shared some 100% whole wheat sourdough sandwich bread here before, but sometimes you just want some good ol’ fashioned white bread, am I right? This one fits the bill. It’s soft and fluffy with a tender but well-developed crust, and the crumb is flexible but sturdy. It’ll hold up to any filling you’re ready to use. It’s my favorite sandwich bread ever, and we make it often.
But I’m going to let you in on a little secret. White bread isn’t bad for you.
… well, SOURDOUGH white bread isn’t. There are several scientific studies showing the effects of bread fermented with a traditional sourdough starter vs. with granulated yeast. The difference is significant. White and Whole wheat bread fermented with sourdough resulted in lowered blood sugar, and in one particular study, that lowered blood sugar from eating sourdough white bread lasted through the rest of the day. On the contrary, regardless of refined or whole wheat, the bread fermented with granulated yeast rose in resistant starch and didn’t improve digestibility. Unfortunately, my favorite study costs a pretty penny to read completely, but you can read the Abstract at the beginning for a quick summary here. Or heck, buy it and curl up on the couch with a slab of bread and have a really nerdy-fun evening.
So in everyday language, sourdough, whether it be white or whole wheat, is good for digestibility. Refined or not, it lowers blood sugar because the starches have been … well, pre-digested by the healthy bacteria in the starter. This bacteria resists high temperatures and actually continues to live on past the oven, which only increases it’s health benefits up to a certain point. So, yet another reason to switch to sourdough in your baking. It’s worth your time, I promise.
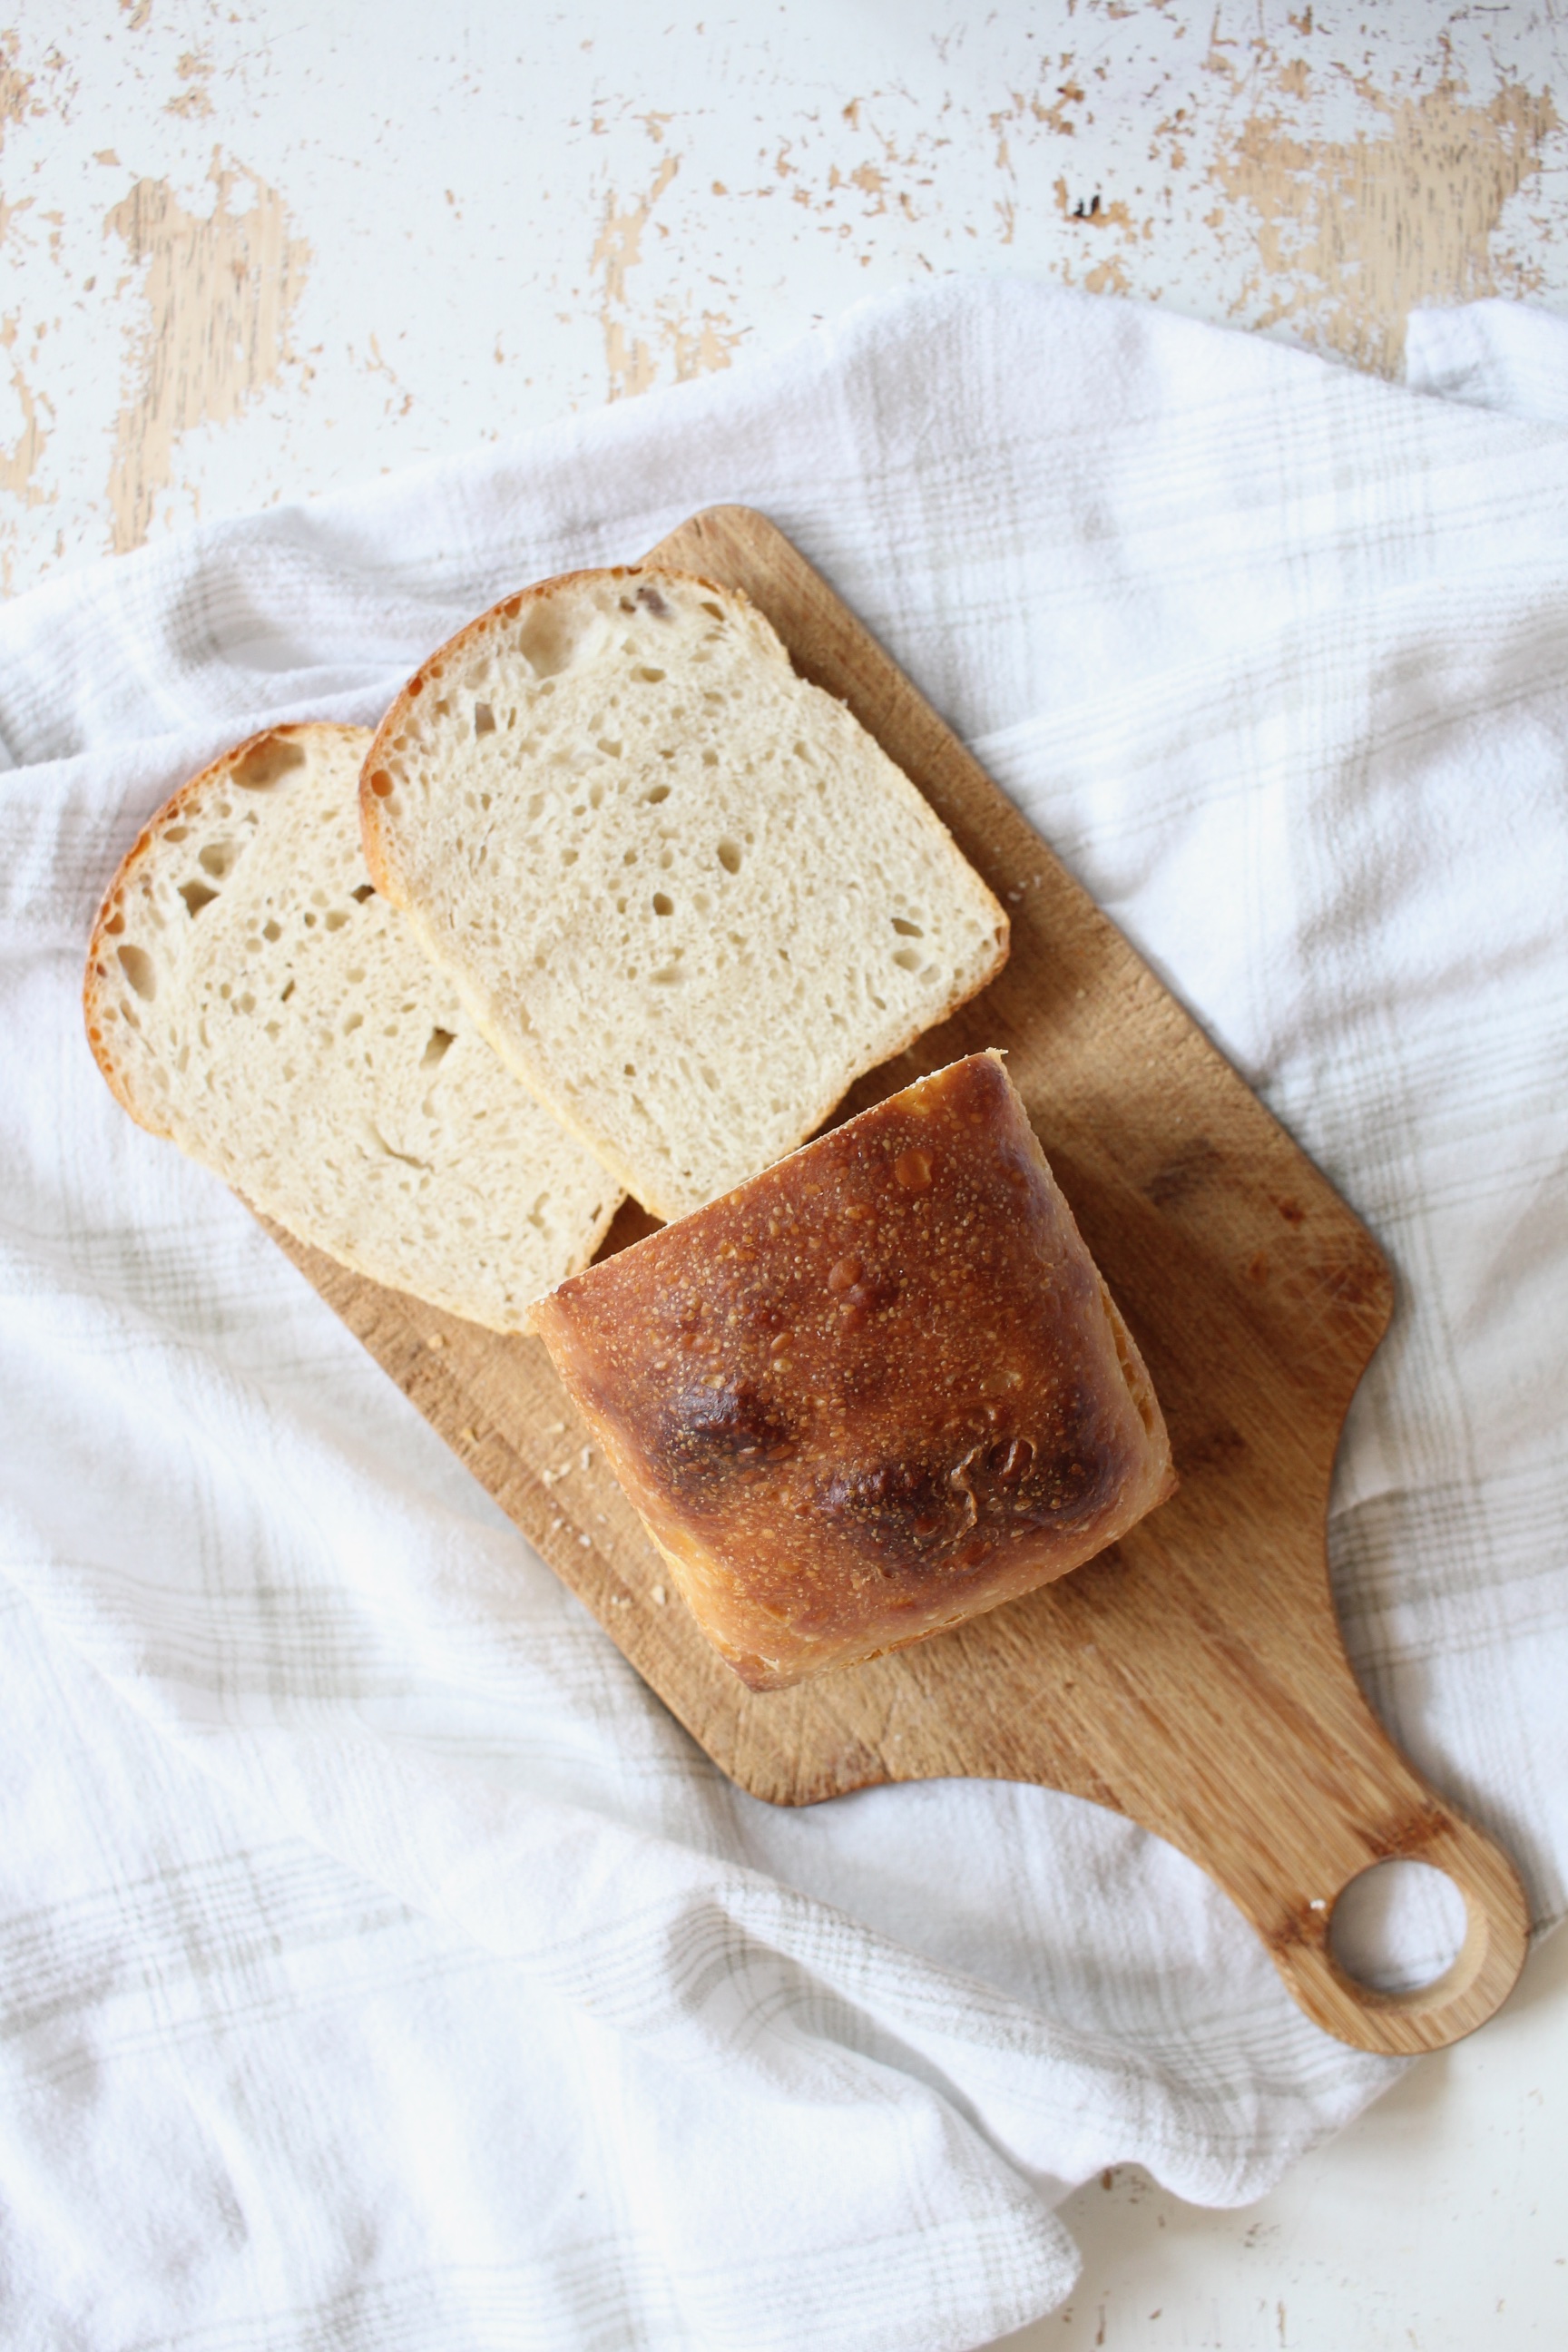
I mean, look at that beauty. Who doesn’t want a slice of that?
And besides the health benefits, the flavor is SO MUCH BETTER. I know at first it may seem daunting, too time consuming, but once you start, you’ll start to see a beautiful rhythm that you never knew you were missing. There’s something so beautiful about connecting to your food at such a basic level, and trust me, it’s worth the effort. The bread cycle becomes less of a burden and more like spending time with a dear friend.
Aw, how cute. I sound so soulful. The truth is, I love it. And I want you to, too.
Ready to make some awesome sandwich bread?
Enjoy!
680 g cool water (dechlorinated)
200 g sourdough starter, refreshed*
1000 g organic all-purpose flour**
15 g softened butter
20 g honey
20 g fine unrefined sea salt
In the bowl of a stand mixer, add the water and sourdough starter and stir to combine. Attach the dough hook and add the flour and butter. Turn the machine on to low and let it mix until it becomes a smooth, cohesive dough, about 10 minutes. You may need to stop and scrape down the sides occasionally. The dough should be smooth and elastic, and slightly tacky to the touch.
Cover the bowl and let the dough rest for 40 minutes to fully absorb the liquid into the flour. This is called the autolyse phase.
After autolyse, add the salt and turn the machine back on to fully mix into the dough. Form the dough into a smooth ball and cover and rest. Fold the dough*** every 15 minutes for the first 2 hours and let rise for an additional 3~5 hours until almost doubled in size.
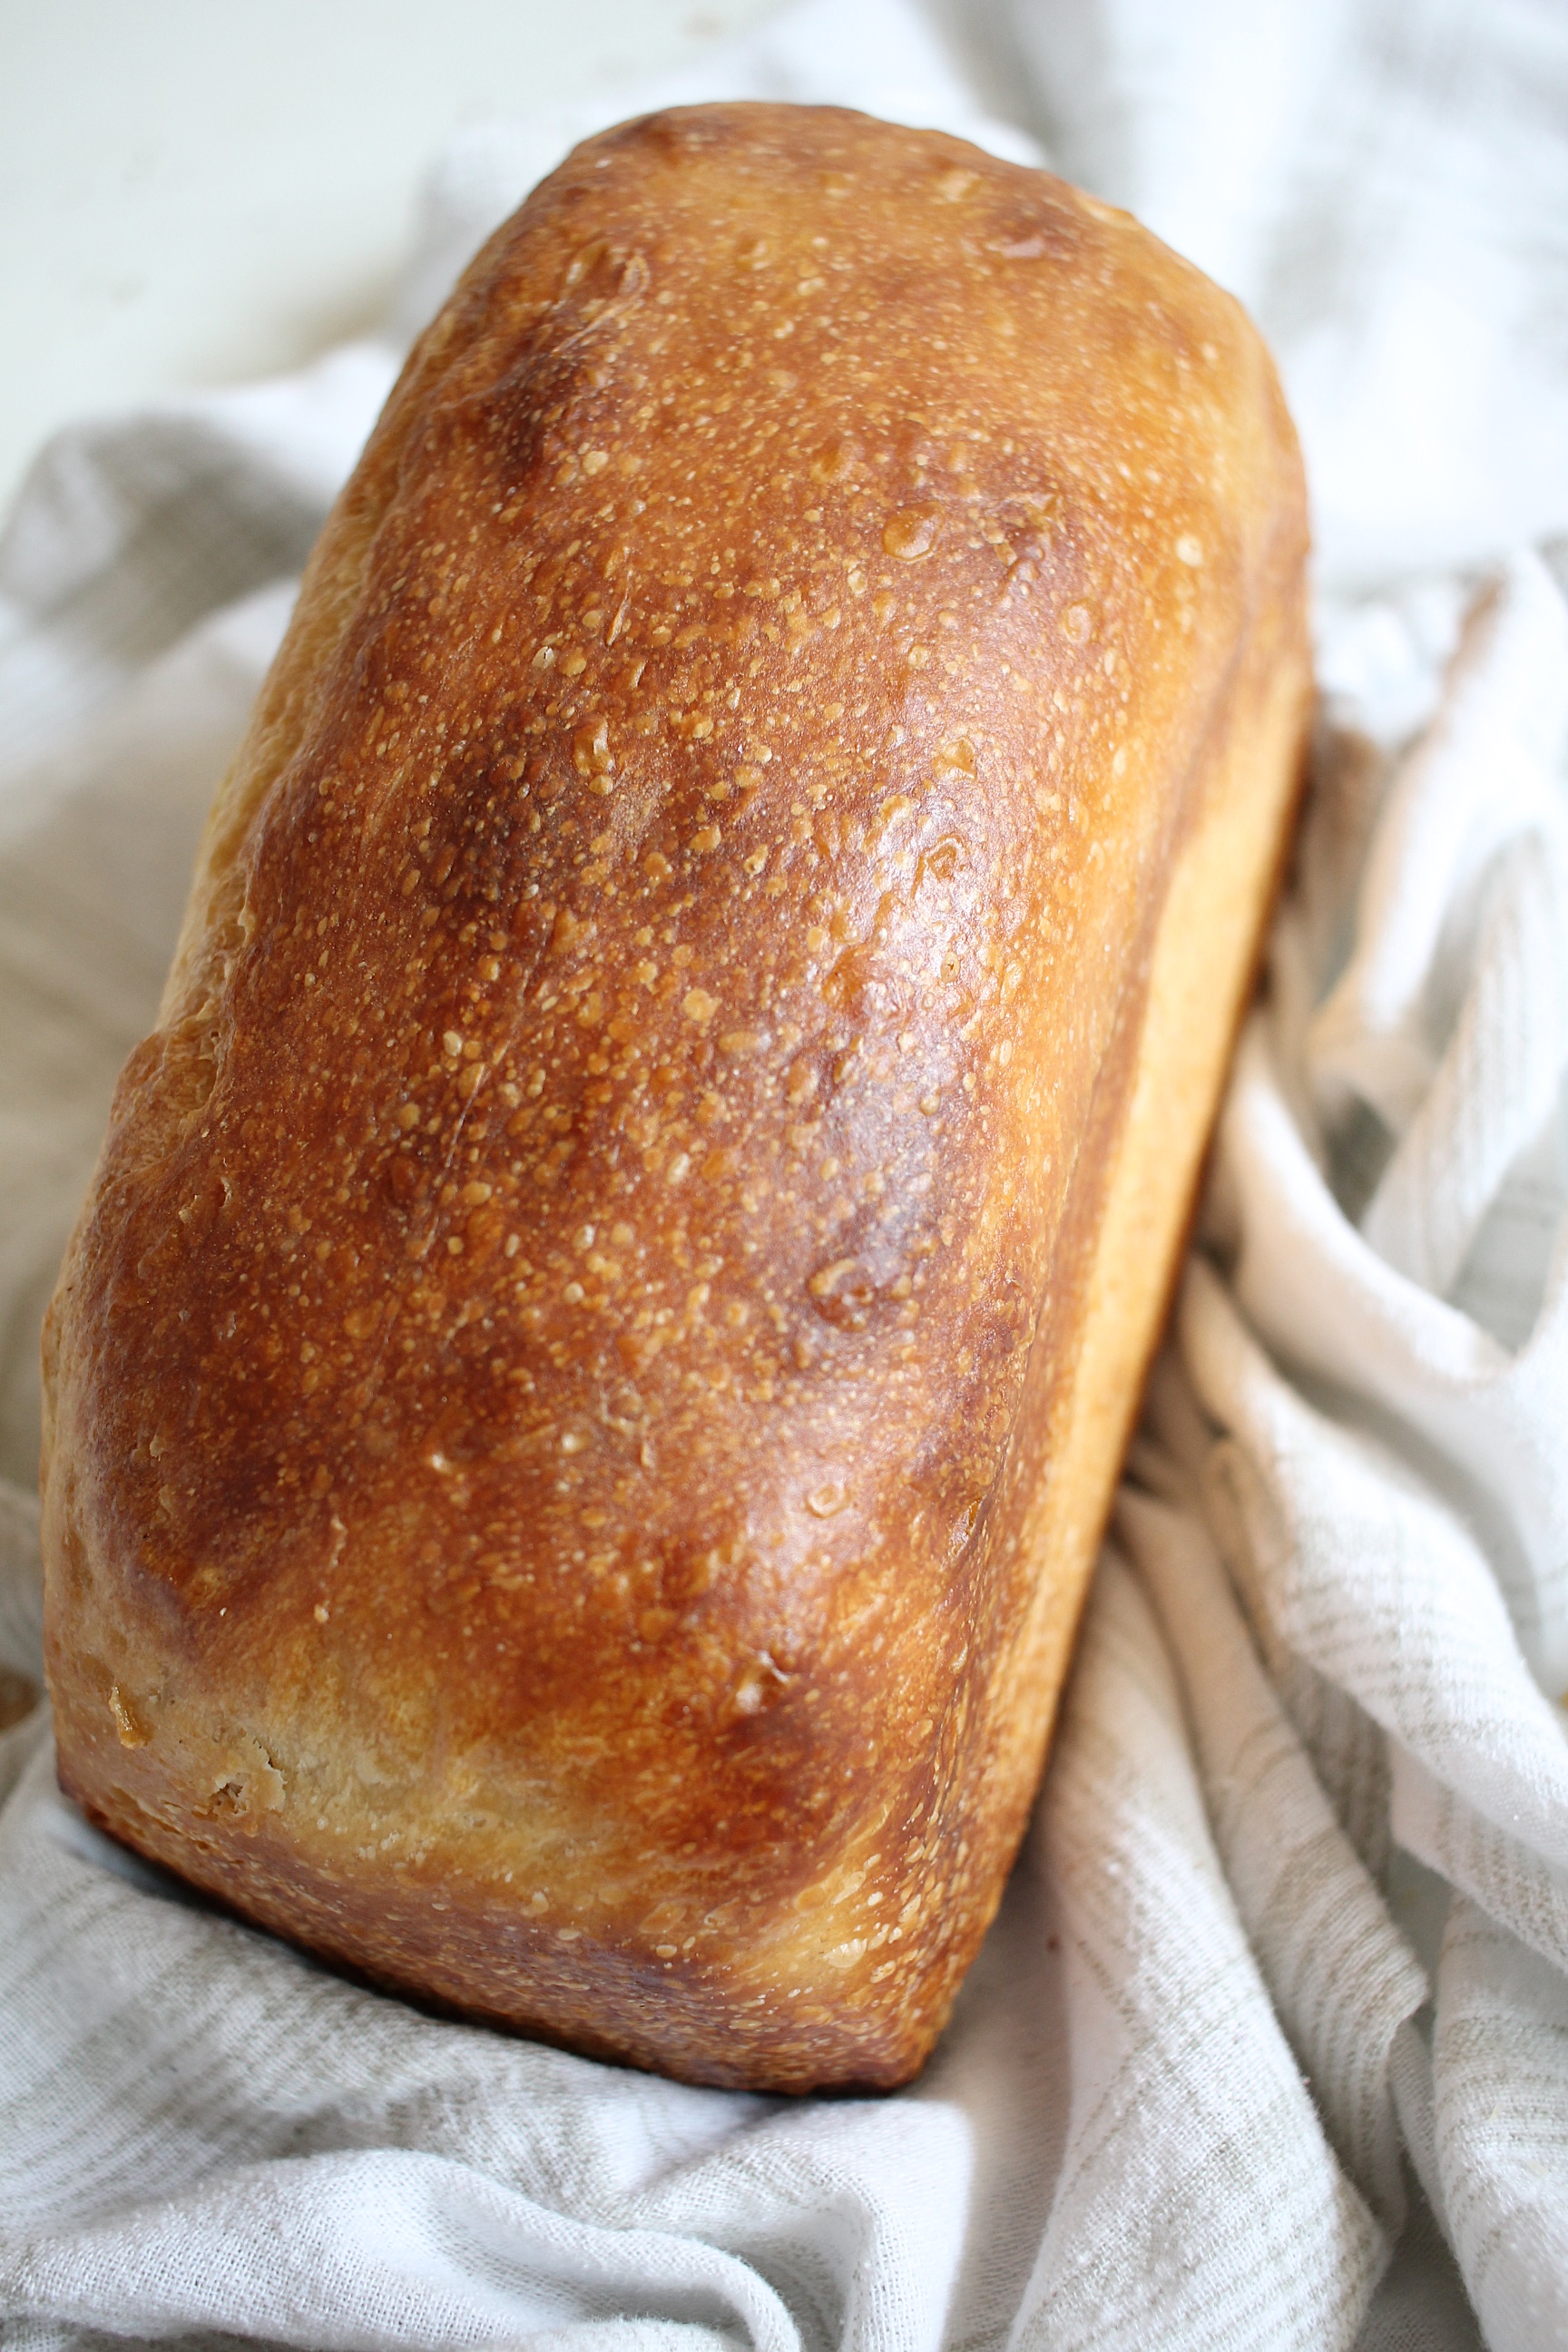
Prepare 2 9x4x4 loaf pans by generously greasing with butter. Take the dough out of the bowl and cut in half. On a damp, clean counter, roll or stretch the dough out to an approximate 9 inch square. Tightly roll up the square and pinch the seam shut. Place the dough, seam side down, inside a prepared loaf pan. Repeat with the remaining dough and the second loaf pan. Cover and let rise on the counter for 1.5~2 hours, or until loaves almost double in size. You can check to make sure it’s ready by pressing lightly on the dough. If it springs back slowly, it’s ready.
After the final rest, bake at 425°F for 35~45 minutes until the internal temperature registers 180°F. Immediately brush the top with butter. Let cool for 10 minutes in the pan and then remove from the pan and let cool completely on a wire cooling rack. Once cooled you should store in a non-breathable bag or wrapper to keep the soft crust.
Lasts at room temperature for 2~3 days****. Or slice, wrap tightly in plastic wrap, and freeze for up to 3 months.
*this means to feed the starter a few hours before making the dough so that the starter is at its peak of activity. I usually go for about 6~8 hours before. Once your fed starter is aerated and about doubled in size, it’s ready to go. You can check by dropping a little amount in some water. If if floats, it’s just right.
**you can just up to 30% with a whole grain, but any more than that will comprise the texture. If you want a 100% whole wheat sandwich bread, try <a href=”http://www.scratch-eats.com/2015/11/17/whole-wheat-sourdough-sandwich-loaf/”>this recipe.</a>
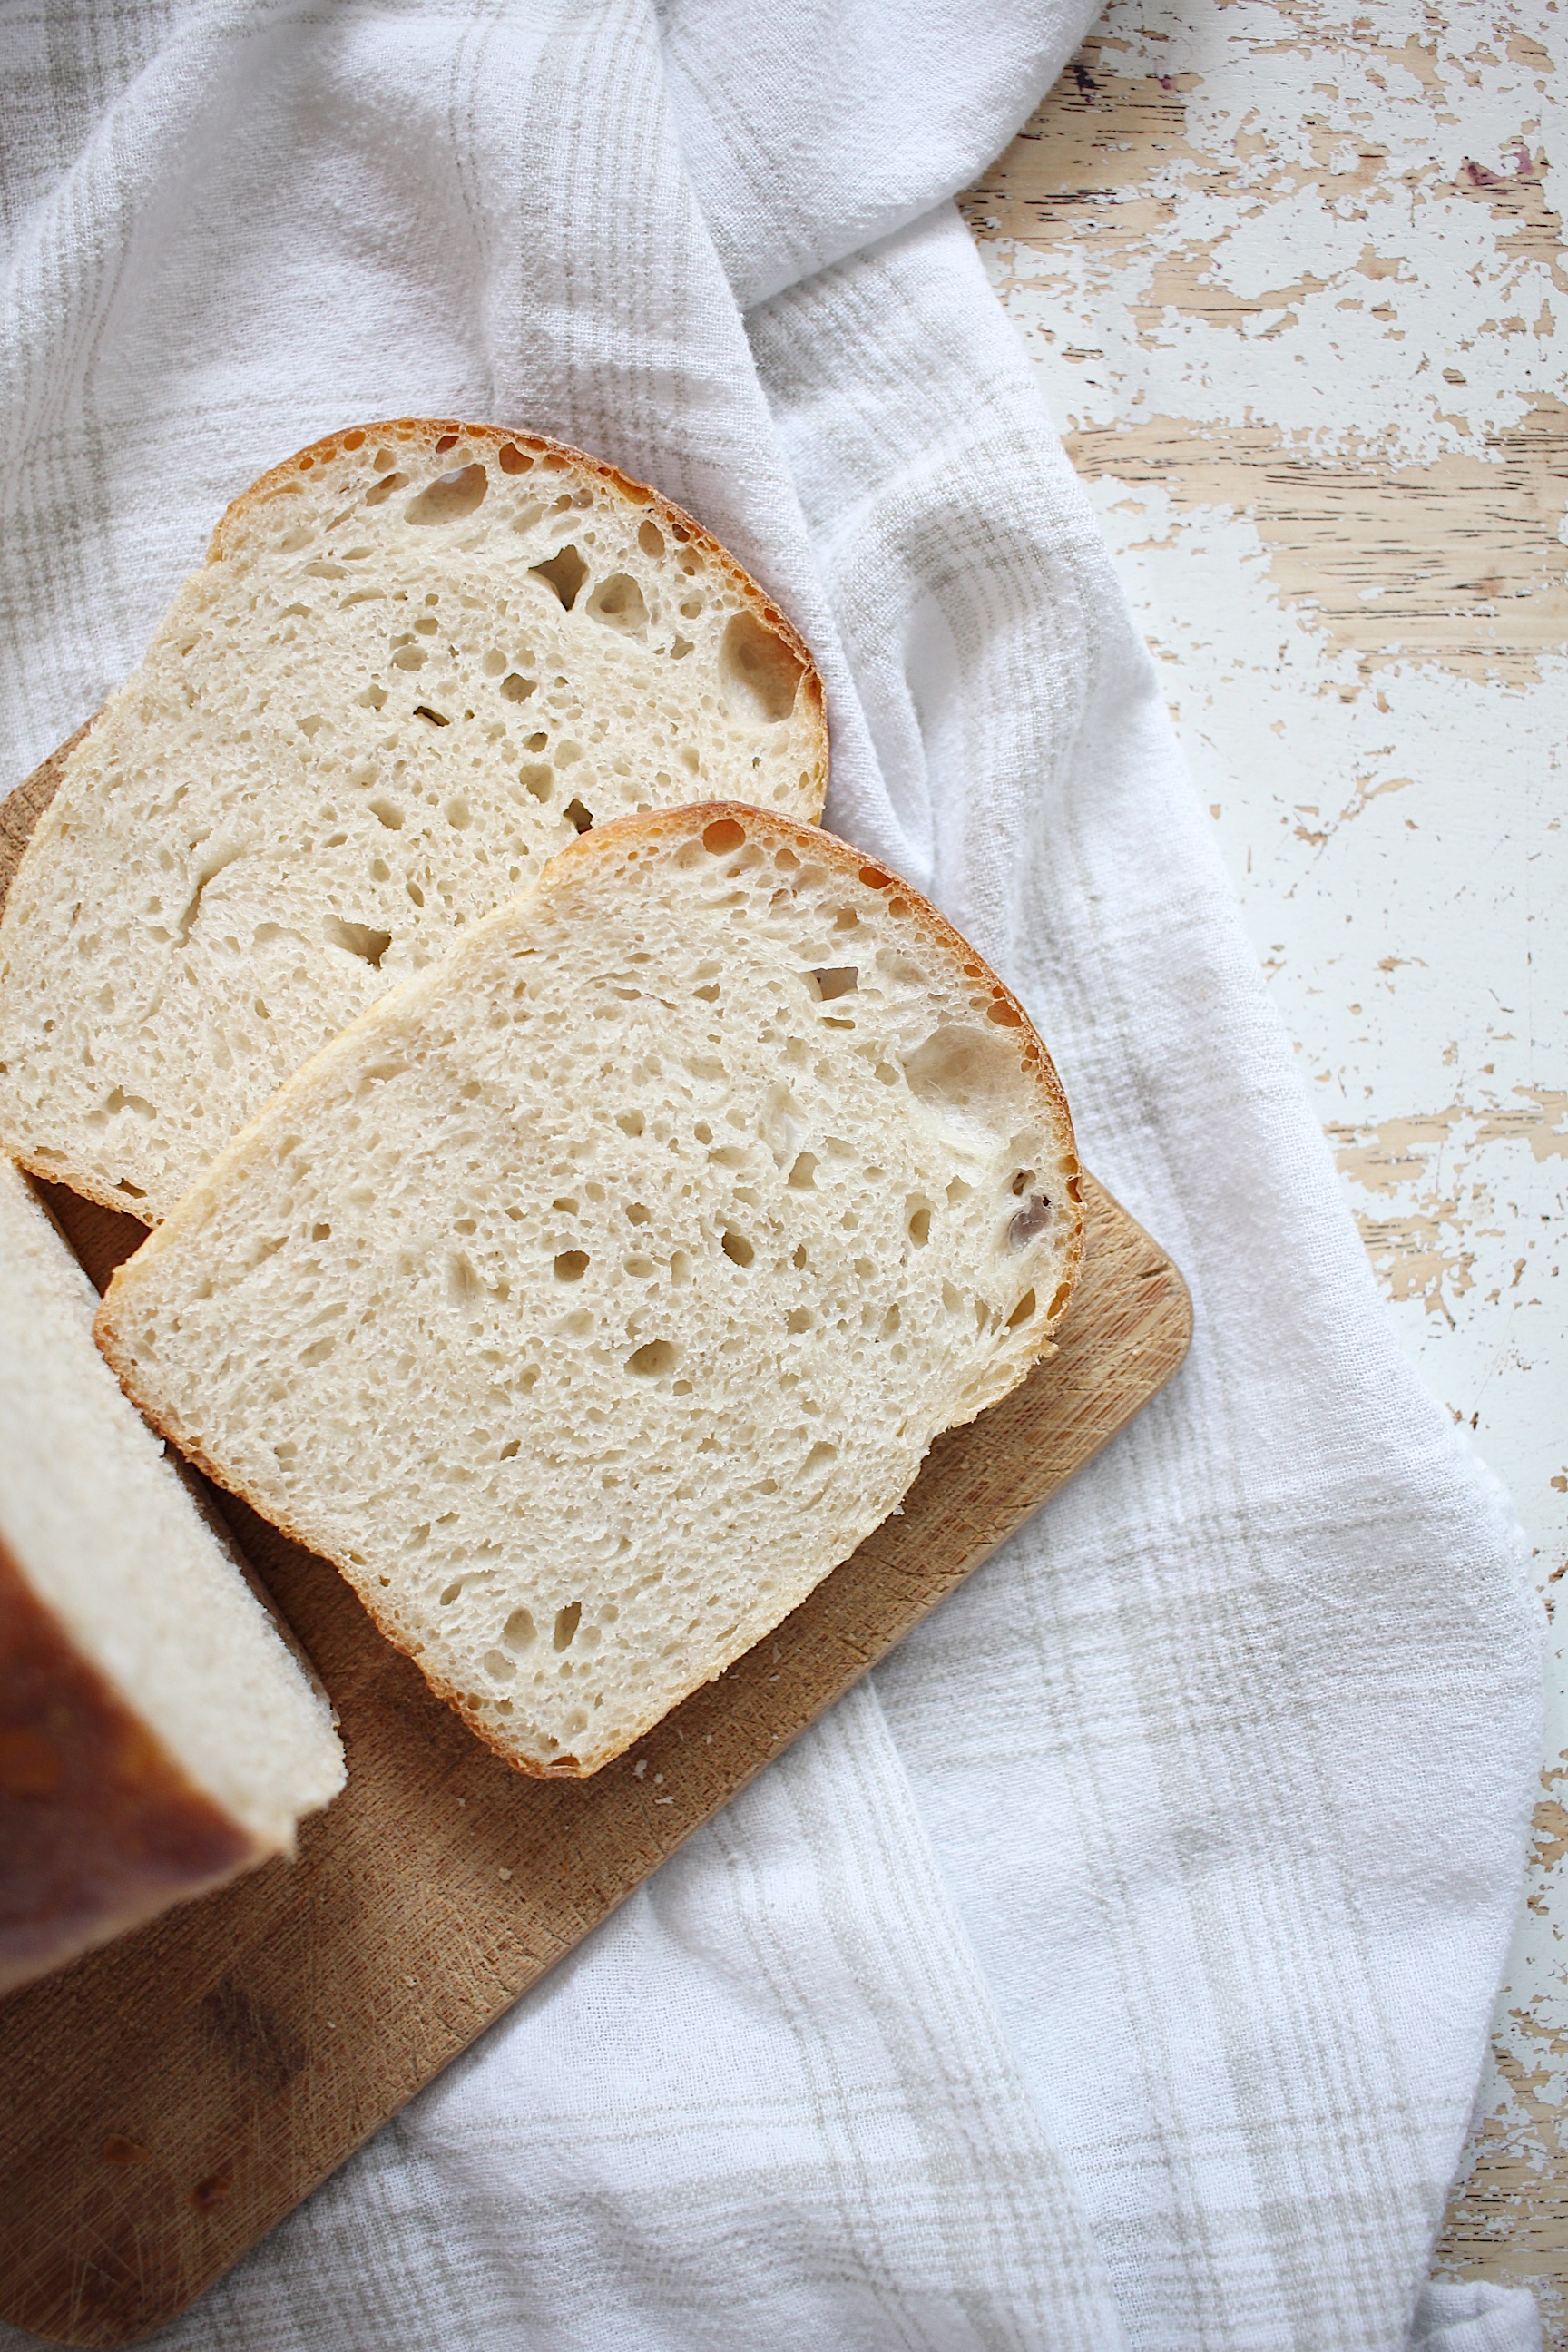
***folding the dough increases surface tension and allows the bread to rise up instead of out. It’s a critical step to a well aerated crumb. In order to fold, with wet hands, take one side of the dough and fold it over the top to the other side. Turn the bowl a quarter turn and repeat with all four sides. This is one fold.
****Keep in mind that the live & active bacteria in sourdough survives the high temperatures of the oven so it keeps souring the bread out of the oven, though at a much slower rate. So after the first day, your bread will start to take on that iconic tang that sourdough is known for.
A couple of my favorite tools for this recipe: (affiliate links)
USA Pan 9x4x4 Pullman Loaf Pan


Erin
September 8, 2017
Just popped these in the fridge. Fingeres crossed they come out as beautiful as yours!
Lillian
October 3, 2017
Oh yay! Hope they turned out well!
Erin
September 8, 2017
Fingers! Not fingeres
Lisa
February 21, 2020
Hello! Email me back if you get a chance because I’m not sure that I will see your comment here on my telephone, but I have a question for you. Your bread turned out wonderfully and the flavor is great but it did not get a nice Amber golden color like yours. Do you brush with an egg wash? It wasn’t in your instructions.
Carol
June 21, 2018
I think this is my favorite sourdough sandwich bread recipe, thanks for posting! Couple of questions: the first time I followed the ingredients exactly and really had to struggle to form a loaf and then get it into the pan (it was pretty comical). The second time I added several handful of flour as I was i was (hand) kneading because it was just too sticky … so is the 1000g of flour correct? (Even with extra flour it was still a bit of a struggle getting the loaves into the pans ). The second question: do you butter the top of the loaves to get them so nice looking?? Thanks again .. even with the high anxiety of getting them into the pans, I love this bread recipe!
Heather M
August 19, 2018
Quick question: when you cover and refrigerate for 8-12 hours, do you put the cold dough straight into the oven the next day or do you bring to room temperature first?
Lisa Costello
August 30, 2018
Could I use the long Pullman pan instead of smaller? (I have both but I like using the 13x4x4″). If your recipe makes too much volume for that pan size, can you tell me if your ~2000g is too much food I use your formula cut down to 1500g? Any advice would be lovely.
Lisa Costello
September 6, 2018
Can I use one 13″x4″x4″ instead of two of the shorter 9″ pullman pans?
Michelle
April 5, 2019
How do you get it to rise so high? I followed the recipe to a tee and although the bread tasted good it definitely didn’t rise nearly as high as the bread in your pictures!
Vicki
April 9, 2019
I have been making sourdough bread for many years, and during my quest to try different SD recipes, I tried this recipe, my starter is 100% hydration and is VERY strong, when it is fed when taken out of the fridge it triples in 2 hours. This dough is EXTREMELY wet if only AP flour is used, I have tried this recipe quite a few times (I am not at a high altitude or anything weird), the ONLY way this bread comes out decent is if I use 350-500g of whole wheat flour the rest as AP flour, otherwise it is way too wet to even attempt to work with and yes I use a scale, and I am NOT new to baking, I have been baking for 5 decades, I have been baking SD bread for at LEAST 3 decades and that is how old my wonderful starter is.
Carmen
April 21, 2019
I have done a lot of research regarding sourdough baking and have been experimenting with sourdough recipes and am fairly new to it. I made mine with 10% rye and did not want to increase the percentage because I have had bad luck with previous sandwich recipes so didn’t want to stray too much from the recipe. I also halved the recipe to make 1 loaf and accidentally added enough butter for 2 loaves. Just like the previous reviewer, I had an extremely wet and sticky dough, but when folding I used wet hands and smoothed it a bit with a little olive oil. This worked perfectly. My dough did not rise much after the second proof so I decided to proof it in a warm oven until the dough rose about 2 inches above the rim. The bread turned out wonderfully with the perfect amount of sour. I didn’t get a firm crust and the center is quite soft, so it isn’t as firm as commercial bread. I am so excited for this recipe as it is my first successful sandwich bread! My previous failures were mainly because the dough did not rise enough. The timeline provided in the recipe I think should be taken as a guideline as not everyone’s starter is the same and depending on temperature etc. it can take longer or shorter to rise. My question is how high above the rim should I wait before popping it into the oven? I thought it would rise further in the oven, but it did not and your loaf looks like it is about 3-4 inches above the rim?
Thanks for the recipe!
Erin
April 25, 2019
I have made this bread 3 times now and I love it! Thanks for the recipe!
Veronica
June 17, 2019
I am currently baking my second batch of this bread and it is to die for! My family ate almost an entire loaf in one sitting! I can’t believe how well it lasts as well most fresh breads lose that first day deliciousness but this bread lasted 4 days and was perfect to the last crust! My husband wants me to bake loaves for his guys at work thank you for sharing!! It’s going in my personal favourites “cookbook”!
Mandie
July 4, 2019
I have tried so many different sourdough sandwich bread recipes and this is our favorite!!
Mandie
August 3, 2019
This has become my go to bread recipe! I make it every weekend. It’s my family’s favorite!
Lara
August 26, 2019
Love this recipe! Easy, fast, turned out delicious. However, though my loaves reached 180 degrees after 40 min, they were very pale. Any advice on how to get a golden brown crust without overcooking?
Abi
December 11, 2019
Hi! Thank you for sharing! I’m very excited to try it. If I don’t have a dough hook or a mixer, can I mix it by hand?