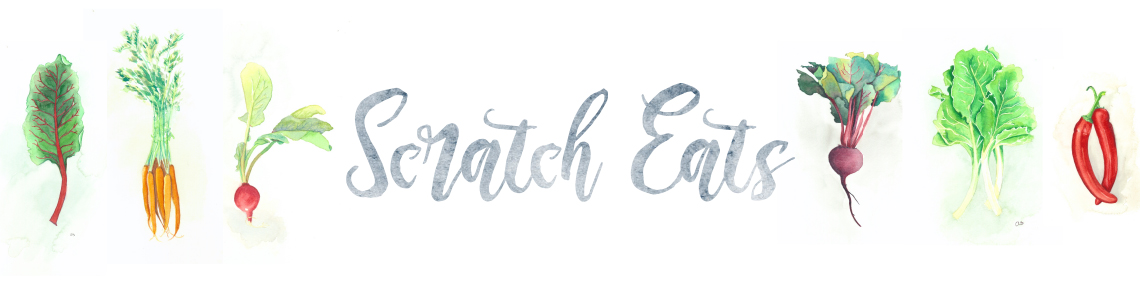
Vegan Gyoza with Jade Green skins
Packed with aromatics and other umami-rich ingredients, and with their beautiful jade green exterior, these vegan-friendly gyoza are sure to be a winner at any table.
Are you tired of gyoza yet? No, that’s not possible. Today I’m going to show you a a totally different approach, though. The shaping, cooking, and all other techniques are the same, but there are a couple of blaring differences: the color of the skins and the vegan filling. Now, don’t you meat-eaters out there roll your eyes, these are by no means a poor man’s dumpling. Quite the contrary. They are full of flavor and stand completely on their own. Plus, look at that gorge color!
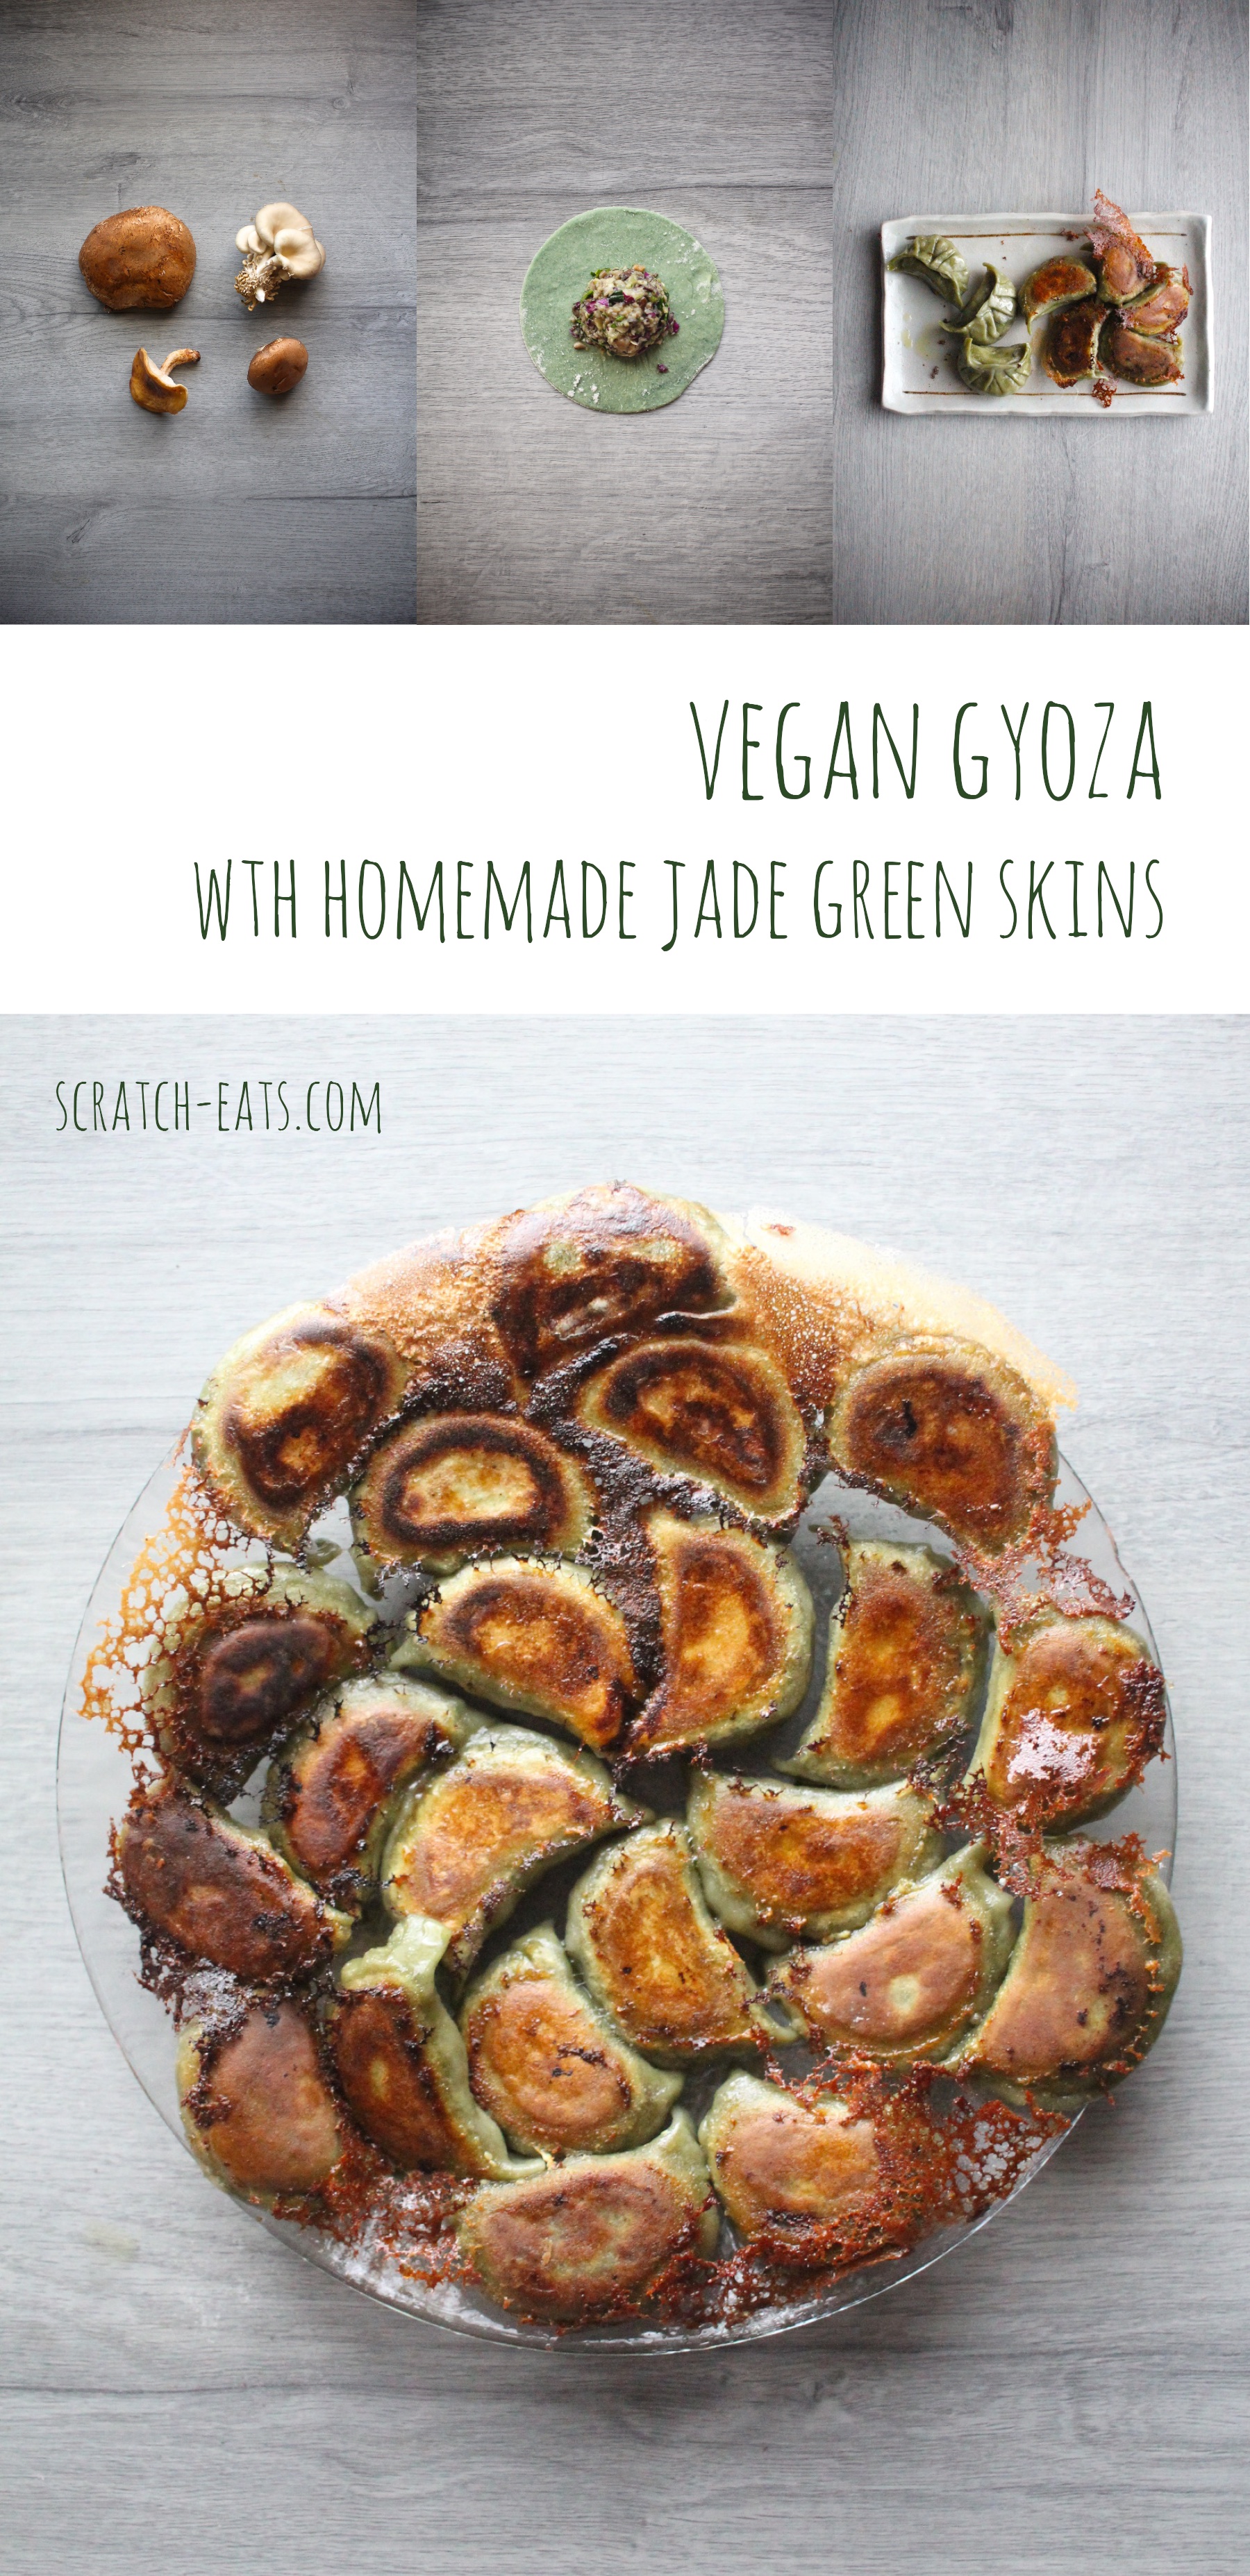
First let’s talk about the filling. The star of the show here is the variety of mushrooms I used. You could, of course, stick to one or two varieties (just make sure you have the same overall amount, and I recommend using shiitake in there somewhere no matter what), but the range of flavors really contributes to the complexity of the dish. So if they’re available to you, do try them all. And even better, once you get the hang of it, substitute other mushrooms. Chanterelle, enoki, shimeji, maitake, wood ear, or gosh, even morels would be fascinating. I stuck with more easily available, but still so flavorful (clockwise from top left) portibello, oyster, cremini, and shiitake mushrooms.
I tried a lot of different cooking methods with this filling before I was happy with it, and I decided that the mushrooms definitely needed to be cooked down a bit before adding the rest of the ingredients. With dumplings you want a bit of “soup” inside, so when you bite into it, there’s a burst of juicy goodness, but too much, and it gets water-logged and soggy. Boo. And mushrooms are 90% water, so you want to get rid of excess. In this case, because we want a nice, juicy filling, you don’t need to worry about overcrowding the pan (like you would something with sautéed, caramelized mushrooms), just get them cooked down. Then you toss them in a large bowl, add the remaining aromatics and seasonings, and your filling is done. I do, on occasion, add an egg to act as a binder so that they filling holds together a little better, but it’s really not necessary. To keep this recipe totally vegan, I’m not going to include it. But if you want to give it a try, go right ahead.
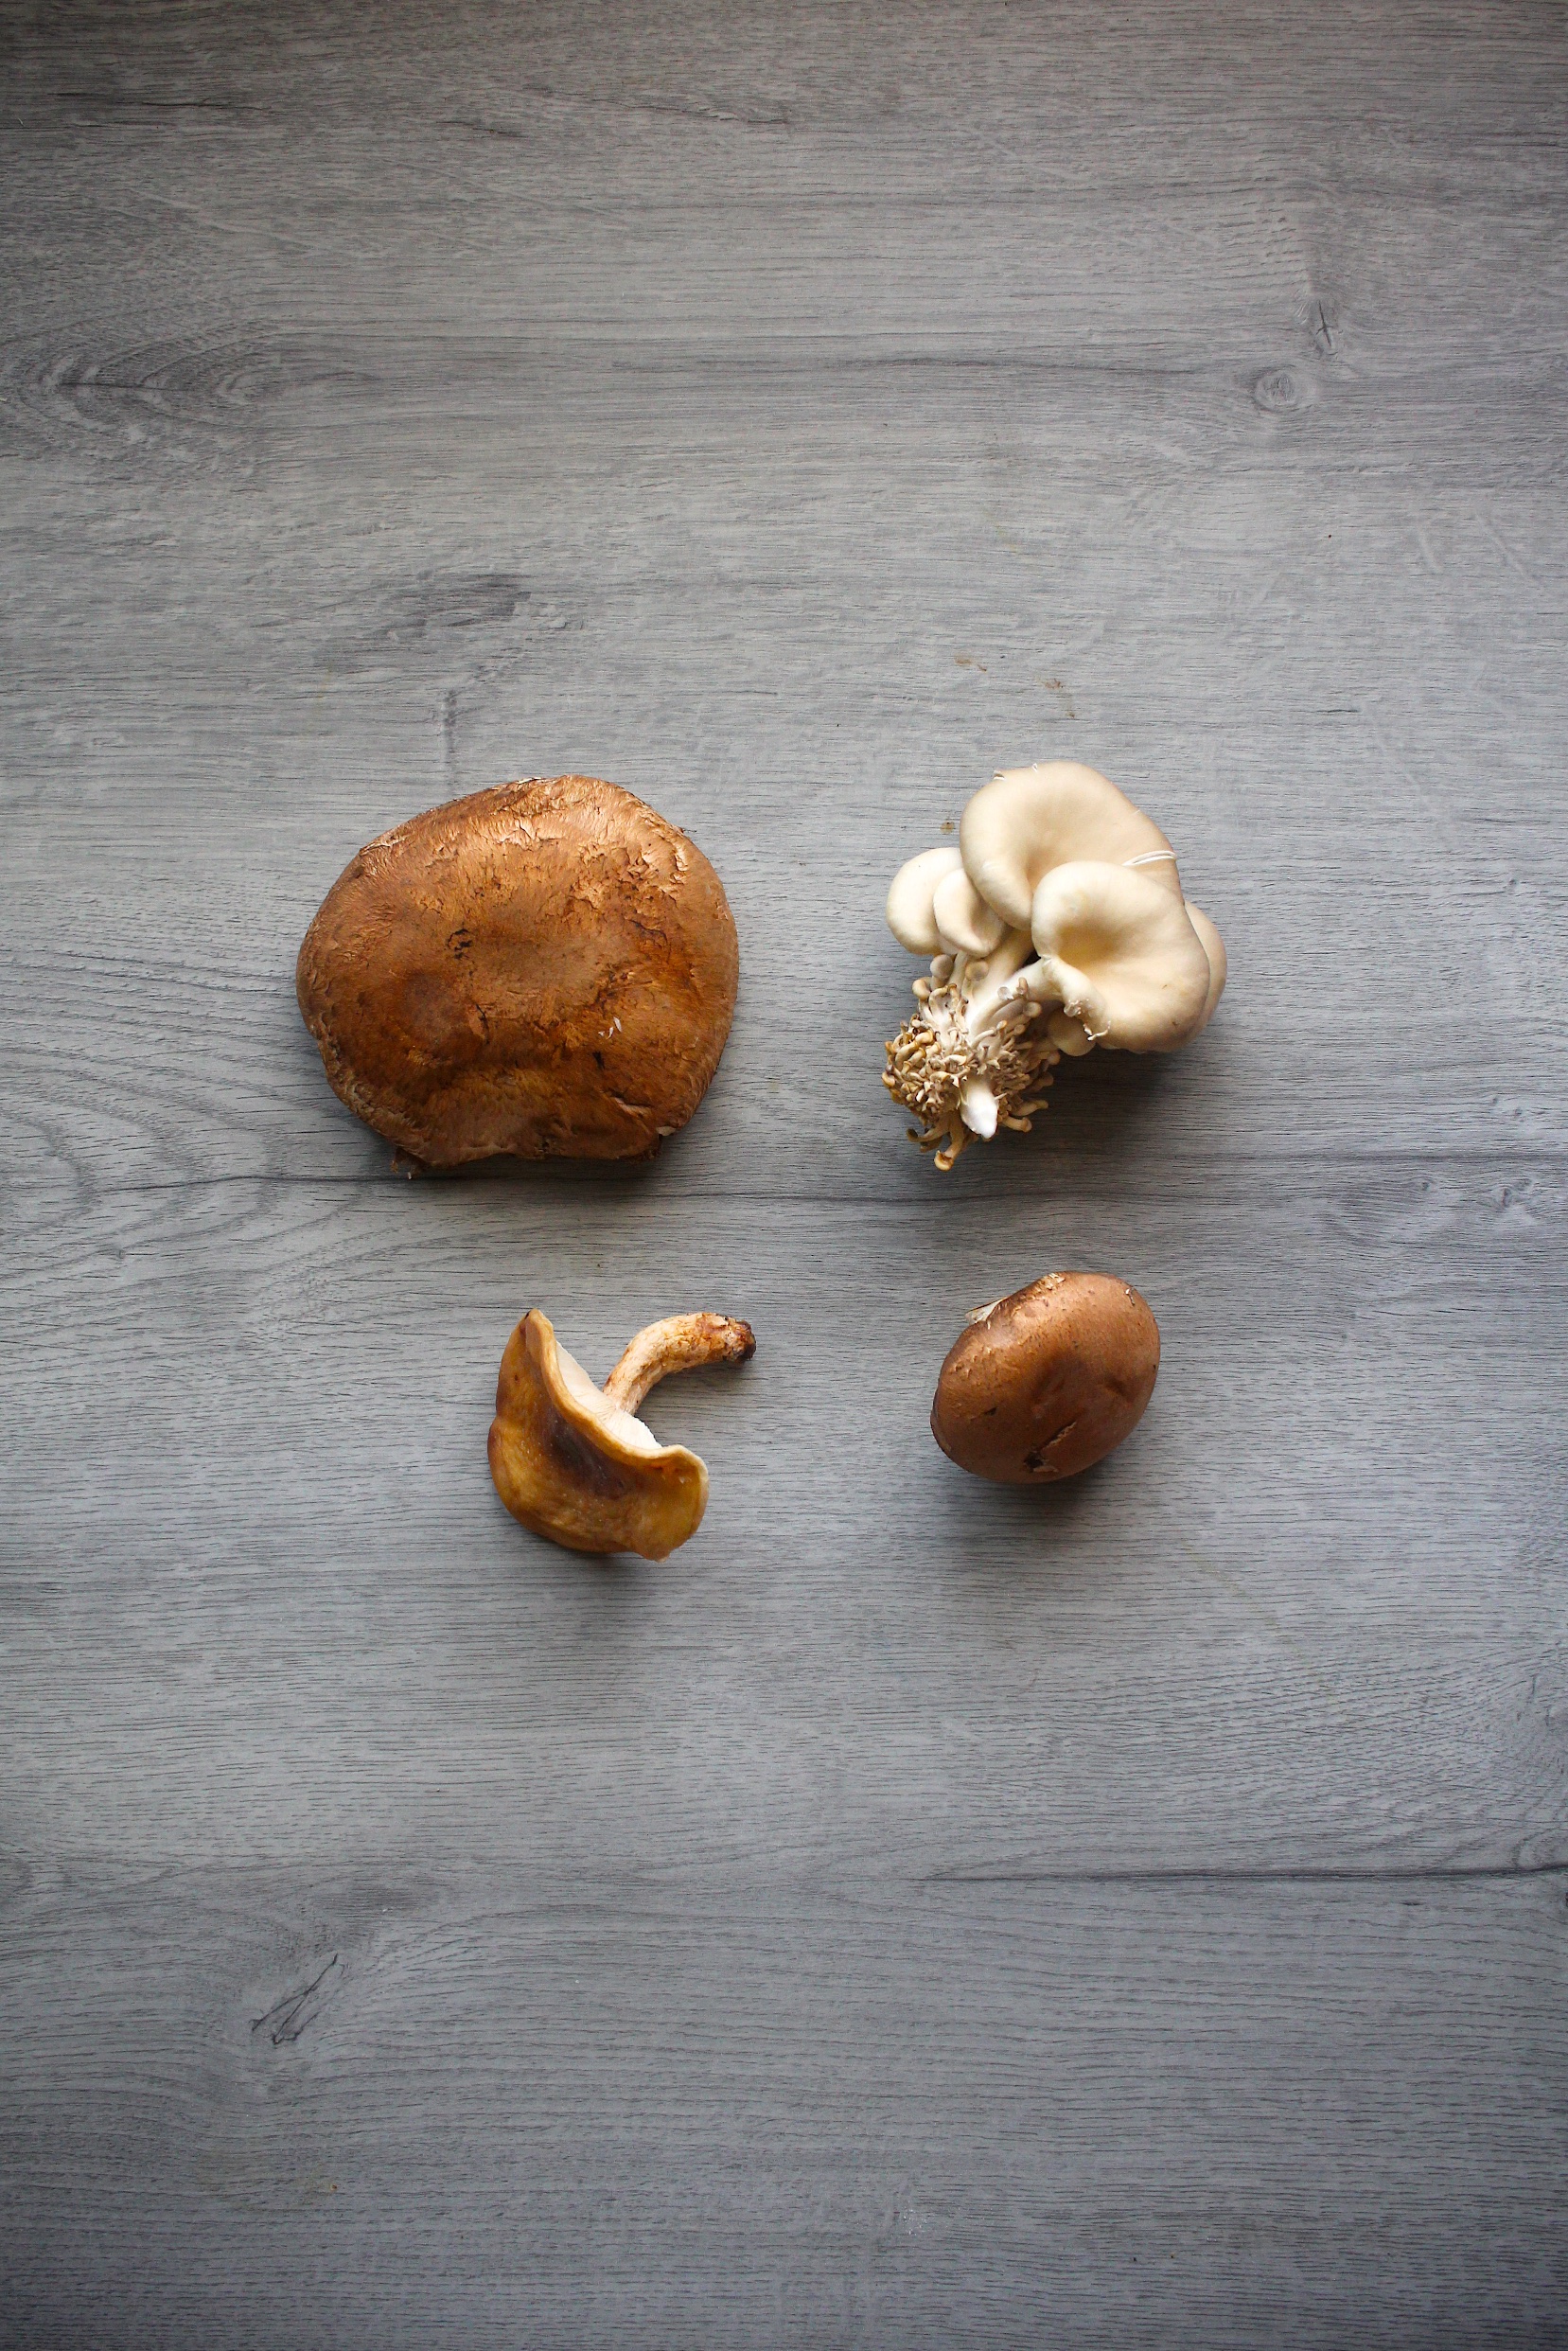
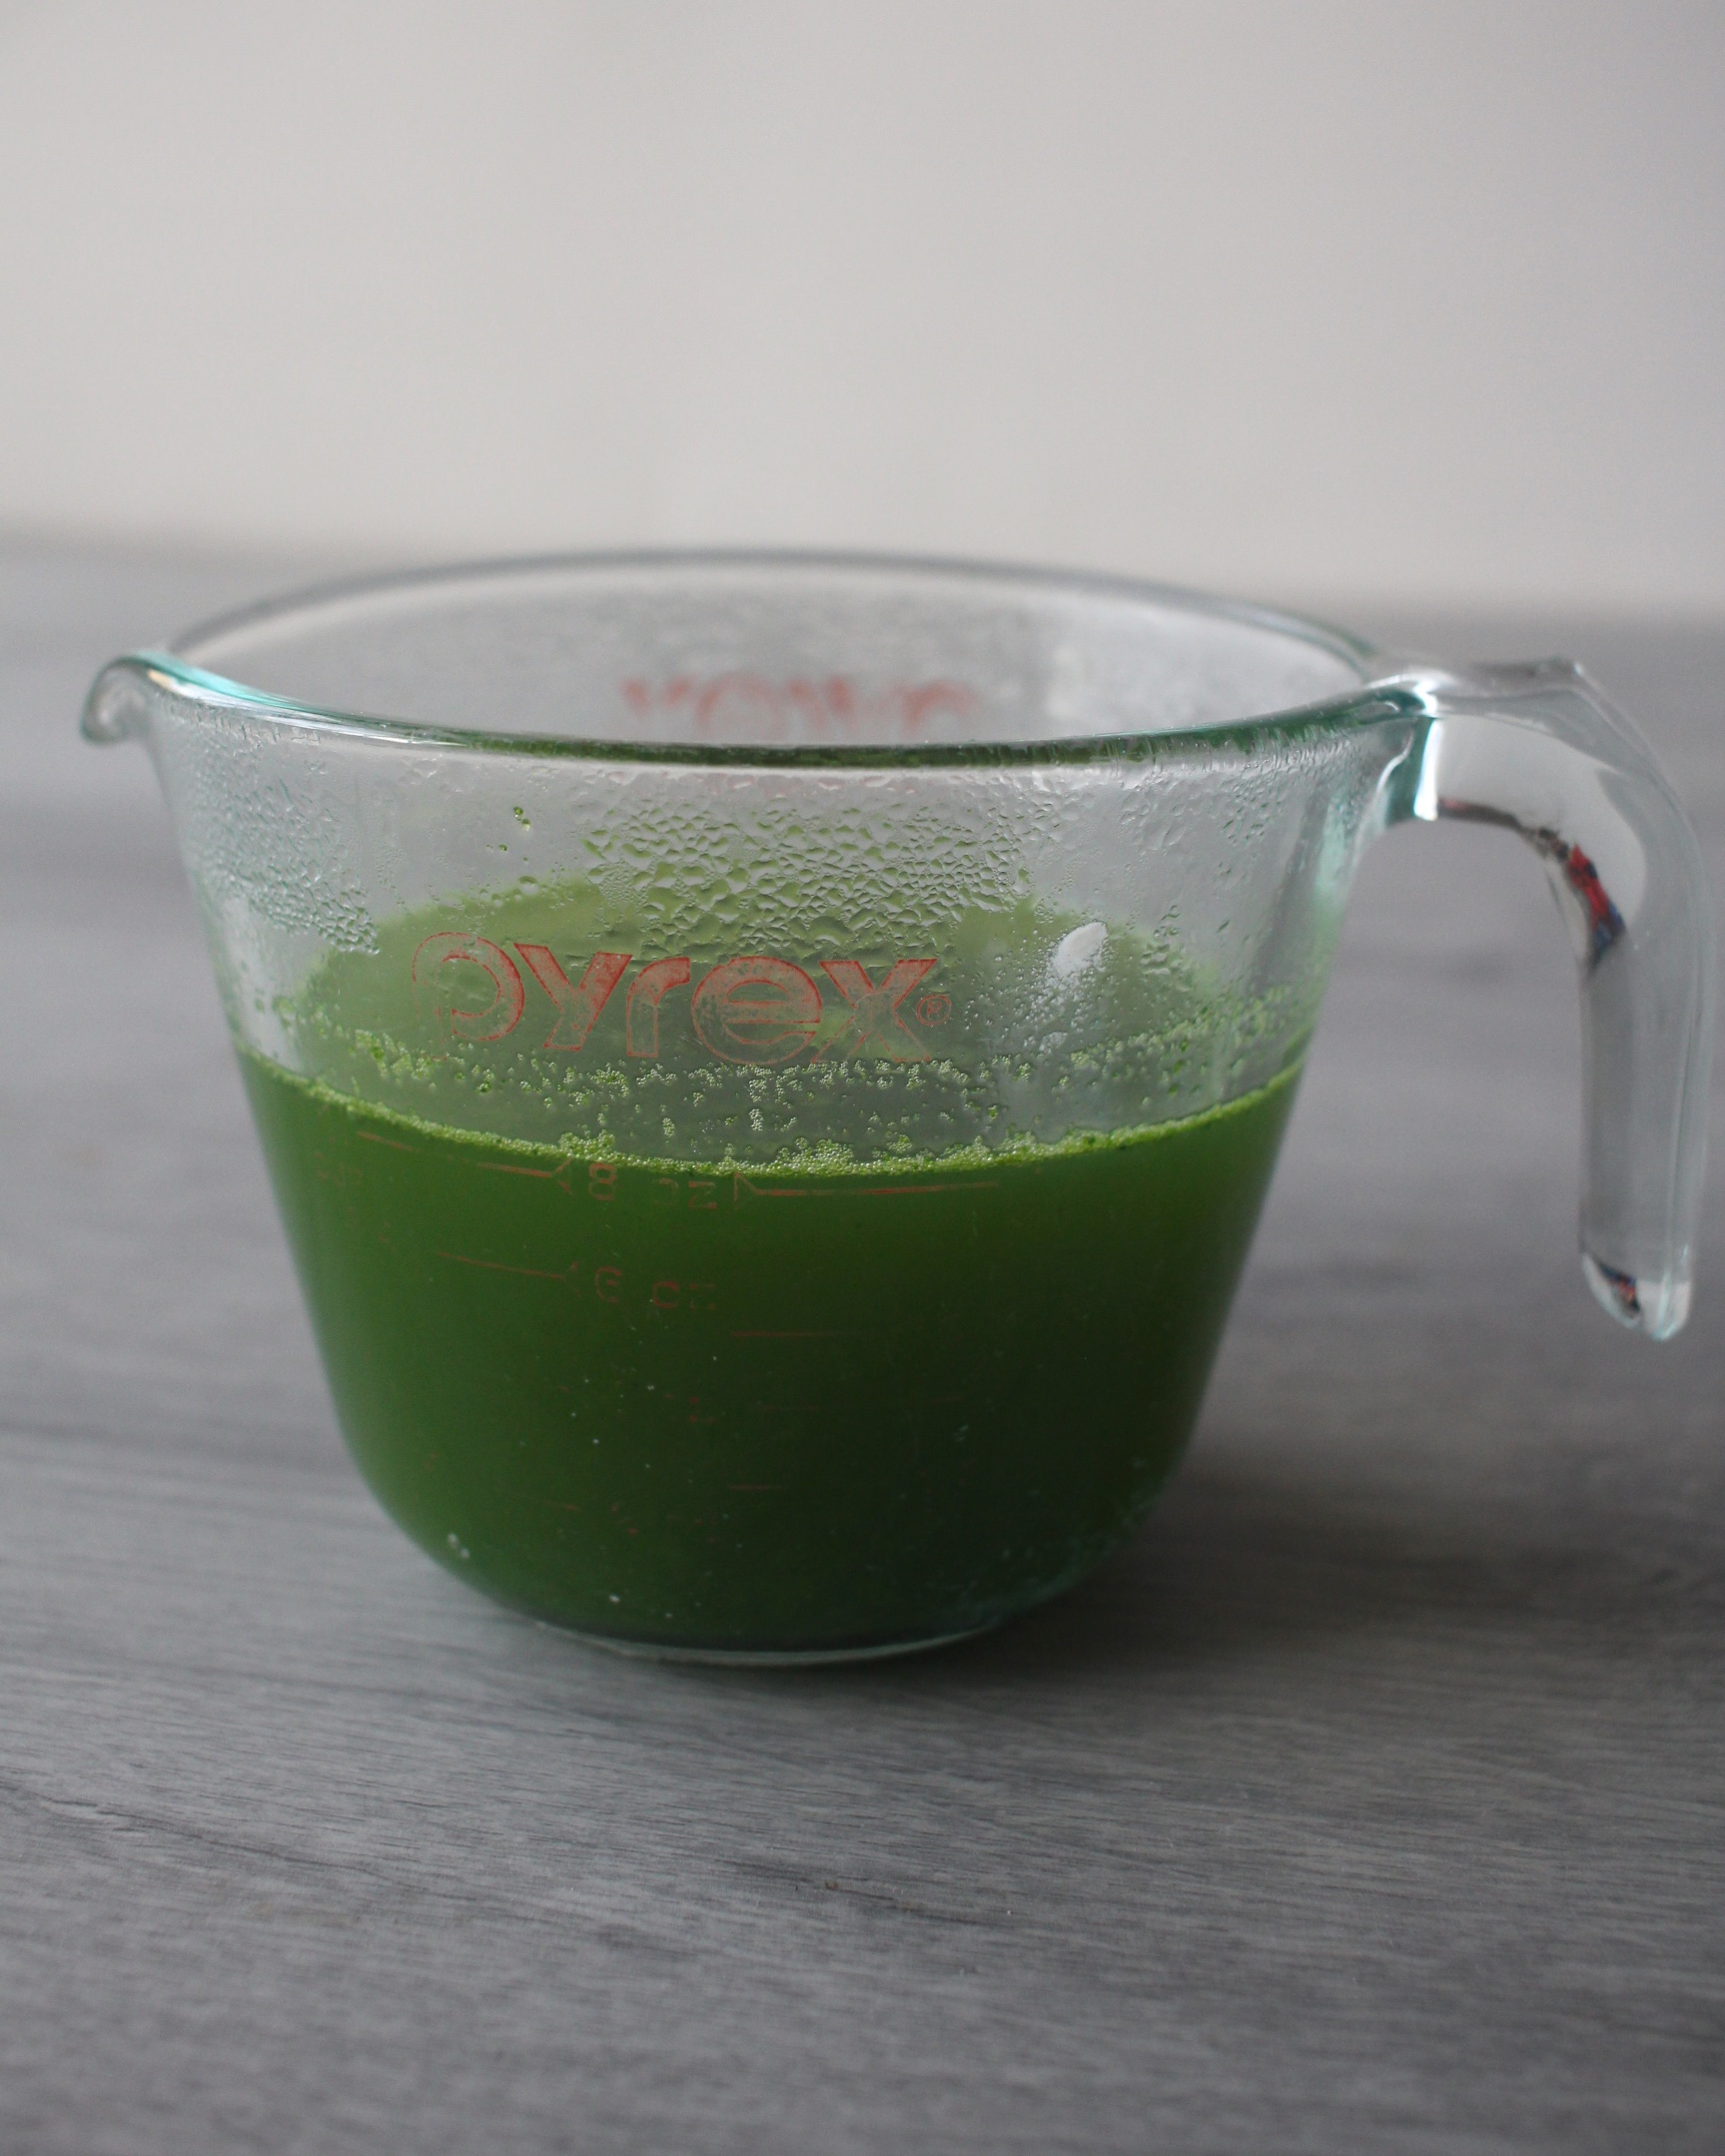
Now, let’s talk about the skin. Mmmmmmm. The skins. Good skins really make a dumpling. And these are as beautiful as they are tasty. The texture is still lucious and perfect, but that color! Are you freaking out a bit? It’s colored by my favorite green-tint combo, spinach and spirulina, just like my green crepes. The spirulina is totally optional, as it can be pricey and hard to find, but it does give it a nice, extra boost of color. Not to mention tons of awesome nutrition. You just blend up a couple of handfuls of baby spinach, a teaspoon of spirulina, and about 1.5 cups of water in a blender, pour it into a saucepan and bring to a boil. Strain it and measure 1 cup, and the rest is as simple as regular homemade gyoza skins.
I know, it’s not a normal, everyday kind of dish. But they freeze so well, set aside some time on a weekend to make a double or triple batch, and freeze the uncooked, filled dumplings. And you’ve got yourself a quick dinner any night of the week.
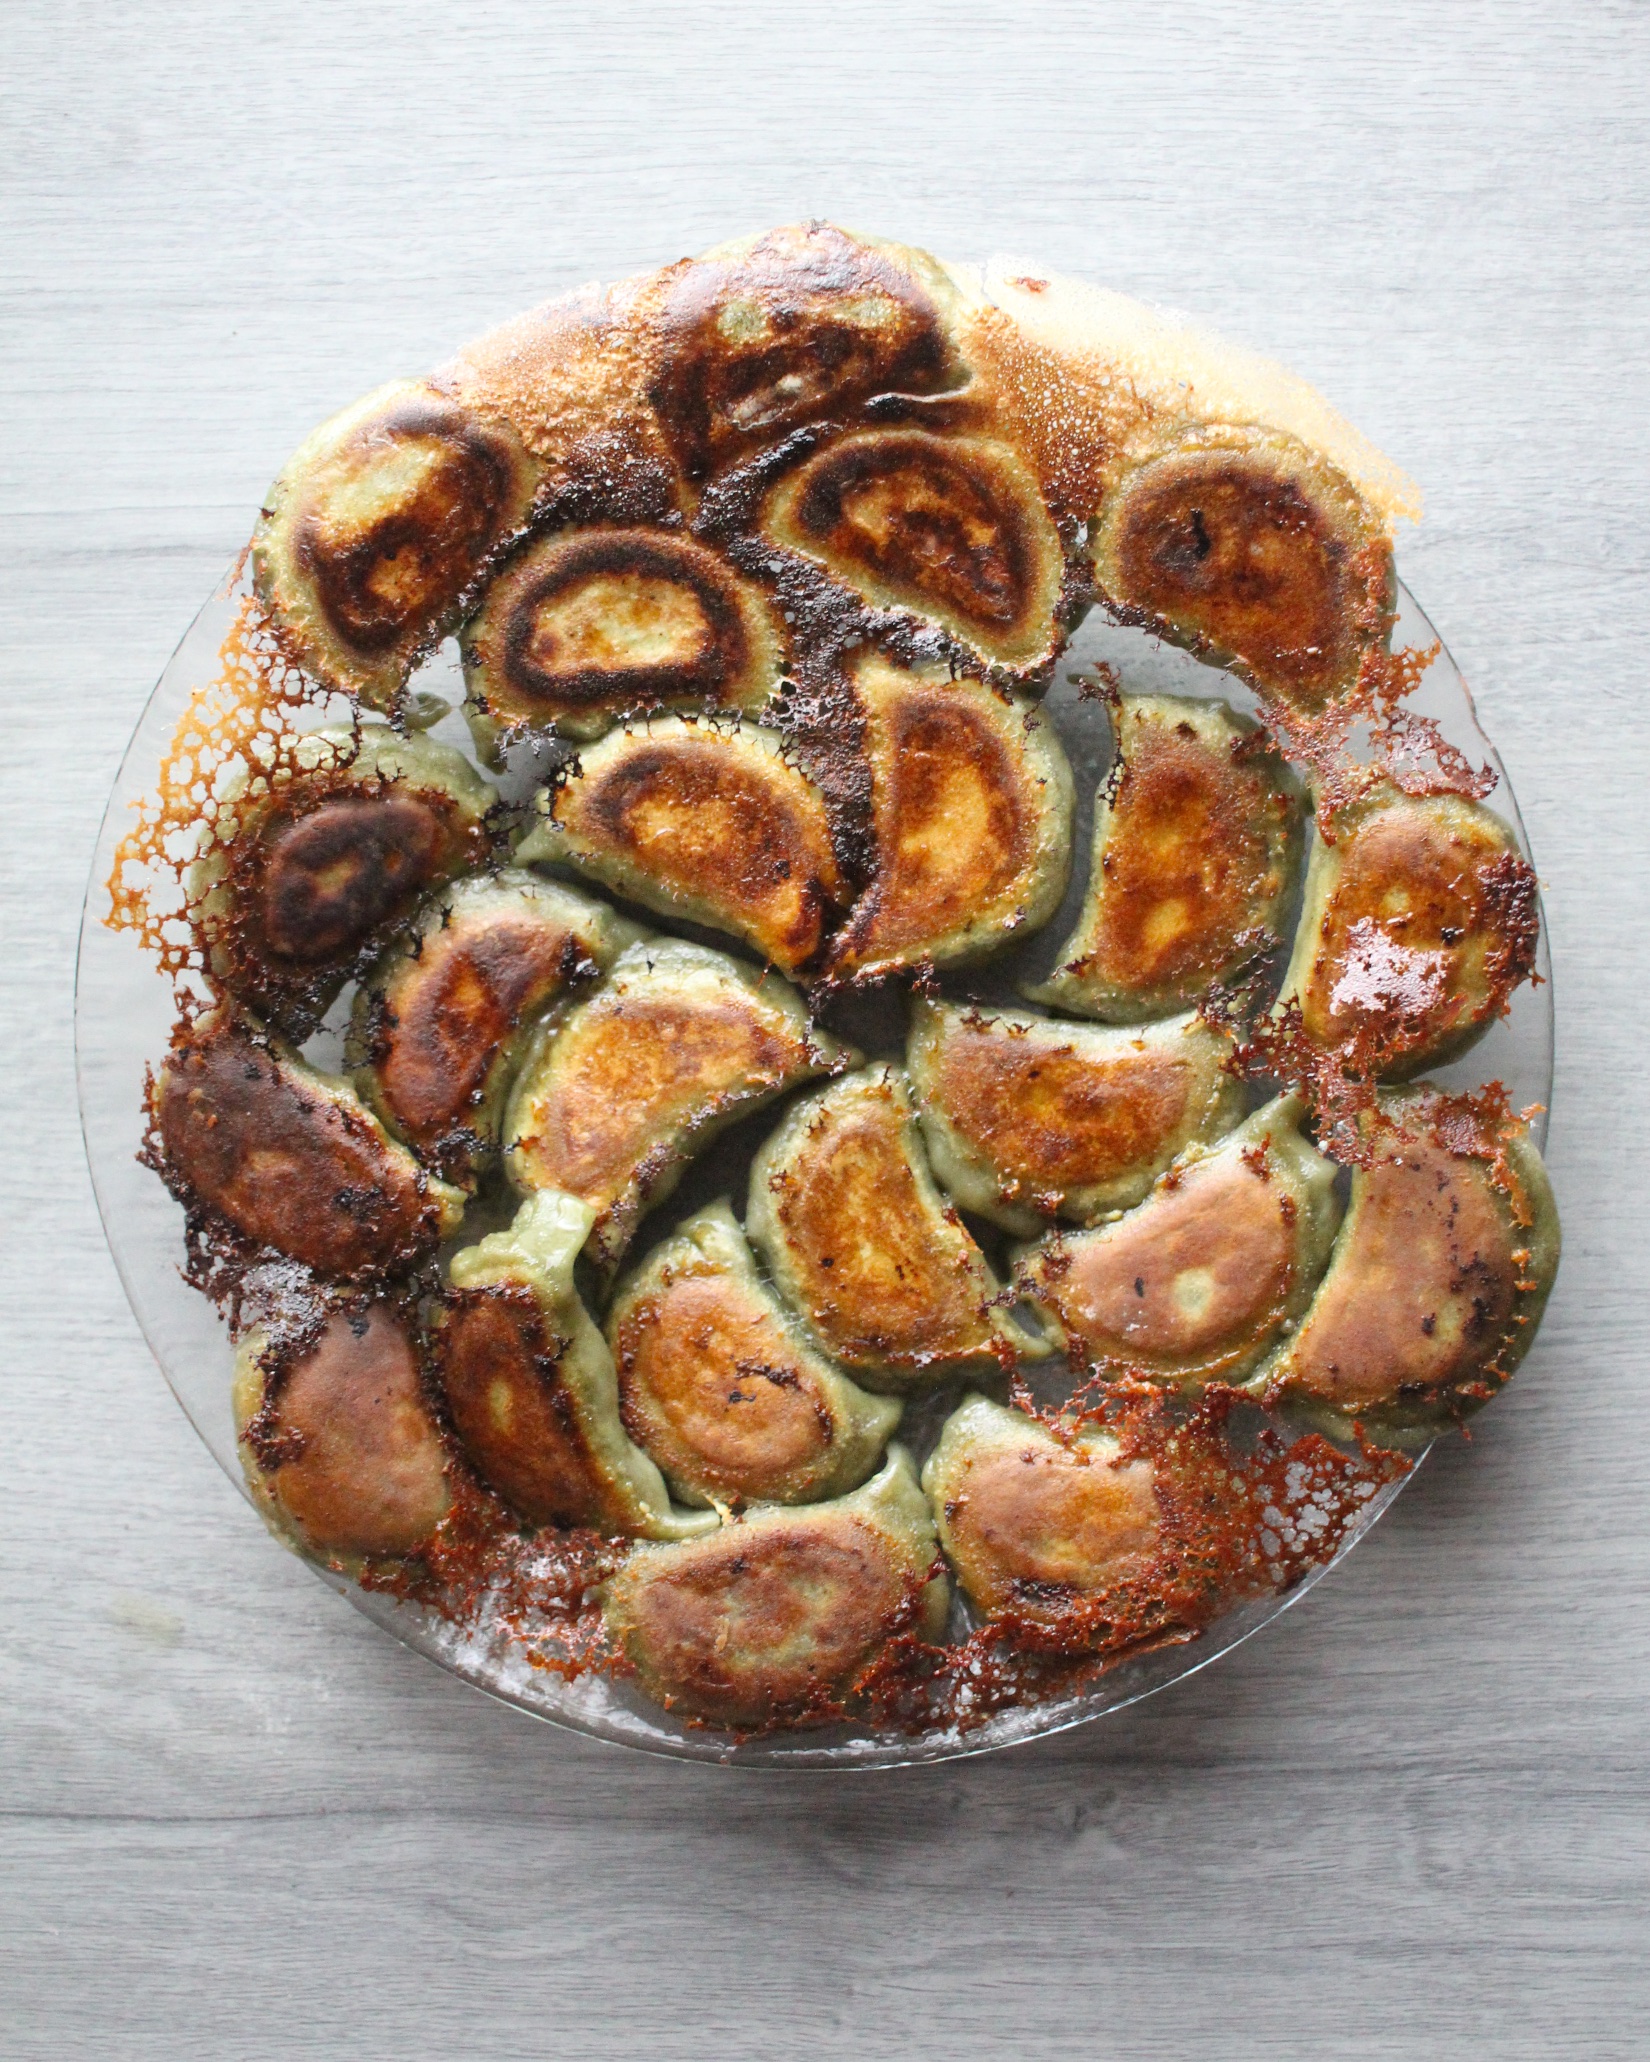
Because you can’t tell me you don’t want that any night of the week. Enjoy!
- 8 ounces shiitake mushrooms, wiped clean and broken into little pieces
- 8 ounces cremini (a.k.a. "baby bella" or "brown button" mushrooms), wiped clean and broken into little pieces
- 8 ounces portobello mushrooms, wiped clean and broken into little pieces
- 4 ounces oyster mushrooms, wiped clean and broken into little pieces
- 1/2 medium head of red cabbage***
- 1/2 medium head of green or nappa cabbage***
- 2 cups loosely packed baby spinach, chopped fine
- 2 tablespoons miso paste, any variety
- fine sea salt
- 3 medium cloves of garlic, grated finely
- 1 tablespoon and 1 teaspoon ginger, grated finely
- 3~4 green onions, minced
- 3 tablespoons soy sauce
- 3 tablespoons toasted sesame oil
- cornstarch, preferably non-GMO and/or organic
- neutral tasting oil, such as avocado oil, for cooking
- 1.5 cups water
- 2 large handfuls of baby spinach, washed
- 1 teaspoon spirulina powder, optional
- 1/4 teaspoon fine sea salt
- cornstarch, preferably organic and/or non-GMO, optional
- soy sauce
- rice vinegar
- white pepper, optional
- chili oil (la-yu), optional
- In batches, add the mushroom pieces into the bowl of a food processor and pulse until finely chopped, but not a paste. Heat a large skillet over medium-high heat and place all of the mushrooms in at once. Season lightly with salt, and cook the mushrooms until they have released their juices and the excess liquid evaporates, 10~12 minutes. Set aside.
- Chop the cabbage roughly and add to the bowl of a food processor and pulse until finely minced. Line a colander with a non-terry clean kitchen towel, and place the minced cabbage in it. Sprinkle liberally with salt and mix with your hands to combine. Let it sit at room temperature for 15 minutes. Gather the ends of the kitchen towel and twist it around the cabbage. Squeeze as much as you can until all of the excess water is removed. Place the cabbage in a large bowl and add the mushrooms, miso, spinach, garlic, ginger, green onions, soy sauce, and sesame oil. Using your hands, mix thoroughly. You'll want to mash the mixture together between your fingers until you have a cohesive, sticky filling that will hold together.
- Meanwhile, prepare the skins. Place the water, baby spinach, and spirulina (if using) into the pitcher of a blender. Blend on high until no little pieces remain. Pour contents until a saucepan and bring to a boil. Immediately pour through a fine mesh strainer into a glass liquid measuring cup and measure out 1 cup. Discard remaining liquid or save for another use.
- In the bowl of a stand mixer, stir together the flour and salt. Turn the machine on low and pour in the boiled spinach-water. Let the machine mix and knead the dough until the dough sticks to the bottom of the bowl but mostly pulls away from the sides. The texture will not be similar to bread dough. It will be a lot more like play dough, like a slightly pasty but cohesive ball. Cover and let the dough rest for 10~15 minutes.
- Cut the ball of dough into 8 equal pieces. Take one piece and, using your hands, flatten it into a disc. Cover the remaining dough until ready to use. Take the disc of dough and run it through the widest setting on your pasta machine. Fold in half, and run it through again. If it's sticking at all, dust lightly with flour or cornstarch. Repeat the folding and rolling process a few times until the dough looks smooth. Once smooth, change the pasta machine setting to one step smaller, and roll the dough through. Repeat until you've reached the second to last or last setting, depending on personal preference. I prefer a slightly thicker dough as it is easier to work with and has a night chew on the finished gyoza.
- Lay the rolled out sheet of dough on a clean cutting board and, using an 3-inch circle cookie cutter, cut out as many circles as you can. Gather up the scraps and set aside, covered. You can lightly dust the cut out circles with cornstarch and stack them about 10 high. I don'e recommend any more than that as they will begin to stick due to the weight.
- Repeat with remaining dough. You can re-roll the scraps a few times until it becomes too stiff to work with.
- To prepare the gyoza, dust a large tray liberally with cornstarch. Place a skin on the palm of your hand and place a small amount of the filling into the center.* Fold the skin over and pinch the center where the edges meet together. Starting with the right side, pleat down the side of the skin facing you, curving backwards a little bit as you go. Try to fit in 3~5 pleats. Once the right side is done, repeat with the left. Repeat with remaining filling and skins.**
- To cook the gyoza, heat a large (12 inch) skillet over medium-high heat. Pour about 1 tablespoon of neutral tasting oil in the pan and swirl to coat. Once the oil is shimmering, add the gyoza in the pan starting in the center and working out in a circle, fitting as many as you can in the skillet. Let them cook for about 3~5 minutes, until the bottoms are golden brown. Meanwhile, mix together 1/4 cup water and 2 teaspoons cornstarch. Once the bottoms are browned, pour over the cornstarch and water mixture and cover with a lid. Let cook for 4 minutes (5 if using frozen gyoza). Remove the lid and continue to cook until the water has evaporated and the crisp crust forms, about another 2~3 minutes. Place a plate upside down on top of the gyoza and flip them over so that the crust is displayed. Repeat with remaining gyoza. Serve hot with dipping sauce.
- *start small, about 1~2 teaspoons and as you get comfortable, work up to 1 tablespoon
- **at this point, you can line them up without touching each other on a heavily cornstarch-lined baking sheet, and place in the freezer. Once the outside is frozen, you can remove them from the sheet and place them in a zipper-lock bag and store in the freezer until ready to use.
- ***you can substitute all green or all red or even savoy cabbage or even nappa cabbage.


Maikki | Maikin mokomin
April 13, 2016
This look super beautiful! I like the idea of putting spinach to the dough 🙂
Lillian
April 14, 2016
Isn’t it pretty? I love them! Thanks so much for visiting and commenting!